|
|
brought
to you in living colour by Quietfire Design
September/October
2006 - Issue 57
Gentle Thoughts
|
|
Important links at your fingertips!
|
Here
is what's in this month's newsletter:
What's New? You may have received a notice about the new byhandproducts several weeks ago (if you're a subscriber who has asked for that info). You may want to have another peek as some new items have come in more recently! Thanks for looking! |
||||||
Join the List!If you
would like to be notified of byhand Product Updates |
![]()

Meet
the newest Quietfire Button!
It's the Inspiration Button!
If you find these on the byhand Product pages, just click on them and
you'll see how that particular product was used by some very talented
artists. And me.
Each purchase you make through this site helps to keep
it going.
byhand
Amazon.com Store
byhand
Amazon.ca Store
They're still in the "working on it" stage!
![]()
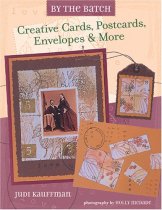
By the Batch - Creative Cards, Postcards, Envelopes & More
by Judy Kauffman
I'm delighted to introduce you to Judi Kauffman's latest book! Judi has written absolutely delightful reviews of the Quietfire Rubber, so it is my pleasure to review her book here. If you're not familiar with Judi Kauffman, watch for her name from now on in just about any magazine you read. Sooner or later, you'll see it on a review or article.
In By
the Batch, Judi shows us 25 "batches" of quick and
classy techniques. What is a batch? Well, since you have all those art
supplies out to make one card, why not just keep going and prepare a
whole bunch!
In the techniques section, Judi covers topics such as Wet Stamping,
Masking, Embossing (in a variety of ways) and Doodles - turning your
doodles into cards. There is a wonderful section on collaging; starting
out and altering and decorating collage papers. But there is lots more!
The
thing I *really* love about this book is Judi's section on layout. These
are brilliant! Each page tells you about a layout style, such as the
Chopstick Layout and then shows you examples. There are 13 different
layouts, plus a section on combining layouts.
If you're stumped for layout inspiration, just open up this chapter
and you'll be on your way in a jiffy! Fabulous tips from a professional
designer!
Have By the Batch as a handy reference close to your creative space and you'll never be short of ideas! Well done, Judi!
You can purchase By the Batch:
![]()
|
To Subscribe to Quietfire
Design's byhand Newsletter and byhand Product Updates, please
go to http://www.quietfiredesign.ca
|
Some changes in the sign-up for the newsletter!
Now you will have control over subscribing and un-subscribing. And with the double opt-in format (you are sent an email confirming that you really do want to subscribe), you know that no one has signed up for you.
Thanks very much for your continued support!
P.S. I do not share my mailing list.
![]()
The byhandartists is a Yahoo group where we discuss all sorts of things related to paper arts! Get to know your fellow artists from all over the world!
![]()
![]()
The Sale continues!
If
you wish to contact me, my email address is:
suzanne@quietfiredesign.com
Quietfire
Design, Box 1231, Port Alberni, BC
V9Y 7M1 Canada
![]()
|
Join
the supporters of byhand and become a This is the 2006 Premium Subscriber gift
For
more details, go to the |
![]()
![]()

While you nourish your creative spirit by reading this newsletter, don't forget your creative body needs nourishment inside and out!
![]()
This is a great place to look for articles (or your favourite artist!) in past issues of byhand.
![]()
Late addition to the Products list...
|
|
|
|
|
|
|
|
|
|
|
|
|
I stayed at a really lovely B&B - Hilltop Magic B&B. Unfortunately, I didn't get to meet the owners - they were doing a Magic Show on Pender Island, I was told! Check out their photo gallery - now isn't that to die for?
|
2006 Current Schedule
2007
To see a complete list (more or less!) of the classes Suzanne teaches, click here!
|
|||||||||||||||||||||||||||||||||||||||||||||||||||||||||
Stolen Moments
|
|
All
of the links in these articles should open a new browser window.
When you are finished viewing the new page, just close the window
and you'll be right back here!
|
Option 1
The classic method for making a charm is by sandwiching a collage or
image between glass, wrapping the "sandwich" together with
copper tape, and then using stained glass solder to finish. Don't forget
to solder in a jump ring for hanging.
This technique is perfected by Sally
Jean Alexander, so I won't even show you mine. I made one before
I took a class with Sally Jean and, well, it's just too embarrassing
to bring it out in public! If you ever get to take a class with Sally
Jean, run to sign up.
Here is her new book, Pretty Little Things, which is now available.
I don't know if she tells you her soldering methods, as my copy is still
on its way! Here are the Amazon links.
If you can't get to one of Sally Jean's classes, I highly recommend you take a class with someone who knows how to solder. It'll save you a lot of time and aggravation!
|
Option 2
Here is the Easy Peasey version of a charm. Take two Microscope Slides and sandwich a transparency or other artwork between the slides. Edge the charm with 3/8" Copper Tape. To add a hanger to the charm, use a Leaf Bail bent over the top and glue it on with E6000 (which will make a neater job than the one I did on the charm above!!). I always apply my E6000 with my handy dandy Spatula, which wipes clean after gluing! |
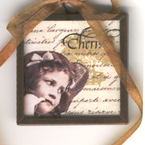
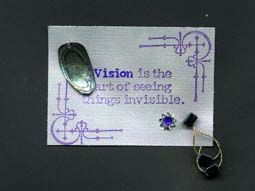
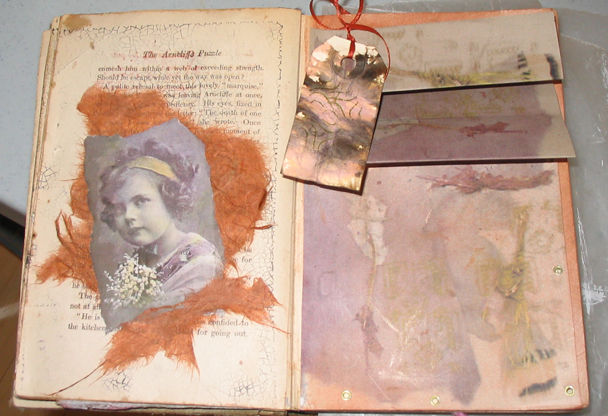
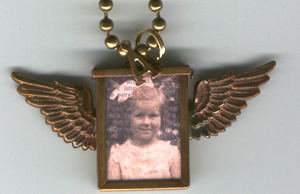
Option 3
I just love this charm and wear it a lot. (It's
my Mom as a little girl in the photo) This is one of the smaller
Flip
Top Frames onto which I have jewellery-soldered a pair
of the Wing
Charms. Using E6000
glue, I glued the frame shut and added the "A"
Alphabet Charm. There is a loop at the tops of these frames,
but it wasn't large enough for the Chain
to pass through, so I used a Brass
Split Ring to attach the charm to the chain. You can have different artwork in each side of these Flip Top Frames. They have a bit of depth, so you can use 3D elements inside the frame. I use small pieces of Mica for the "glass" and a small piece of bookboard to fill the space in the middle, if necessary. (There is photo of my Dad as a little boy on the back side of this charm.) If you don't have any Mica to use as "glass" for your frame, you can use Transparencies.
|
|
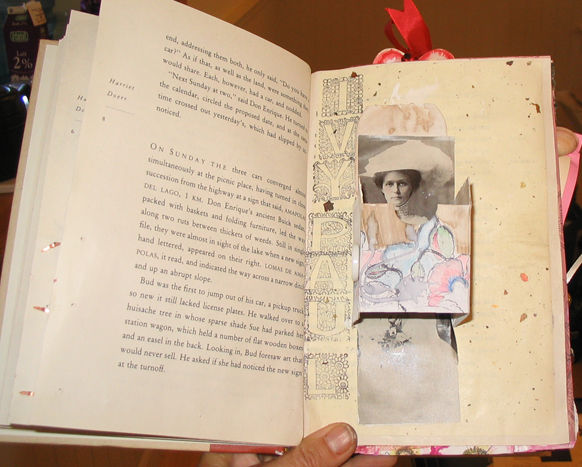
Option 4
Since you can't fit a lot on the artwork, add the embellishments to the frame! |
Option 5 Well, if you're like me, you just can't resist the classic square. This is another of Ranger's Memory Frames - except they're square. They work just like the rectangular, but you need the square glass, too.
|
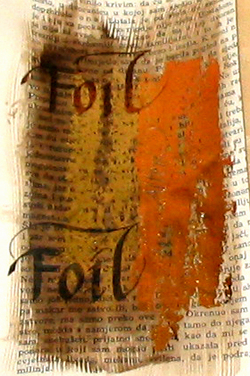
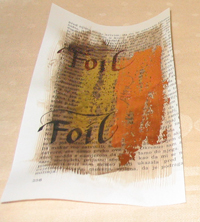
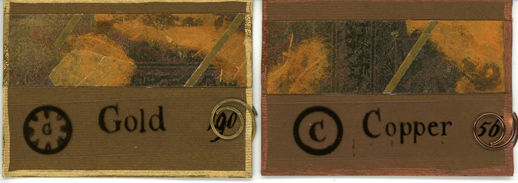
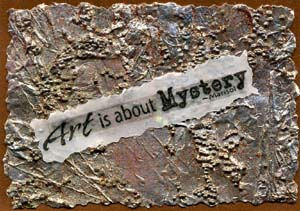
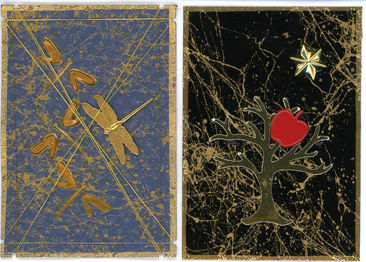
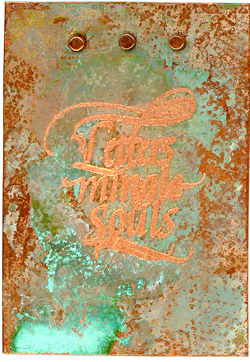
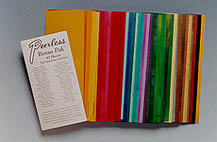
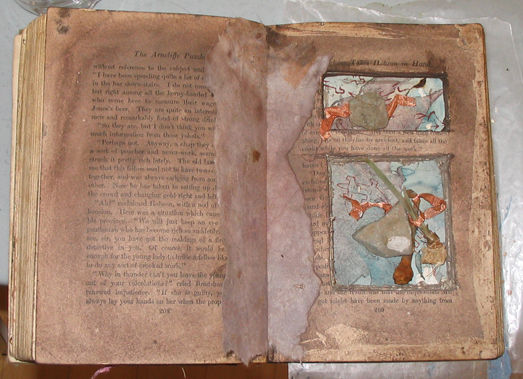
Foiled!I first learned this foil and gluestick technique from
Rose Davidson. Love it! For a really wonderful background (I especially
like it in altered books) try the following:
* Transfer foil is a metallic foil adhered to mylar or clear plastic. The mylar side is the shiny metallic side. The back side is not metallic - this is the side that is glued down. When gluing down your foil, place the shiny side face up on the glue and rub.
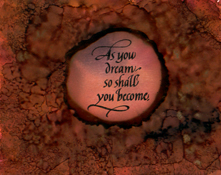
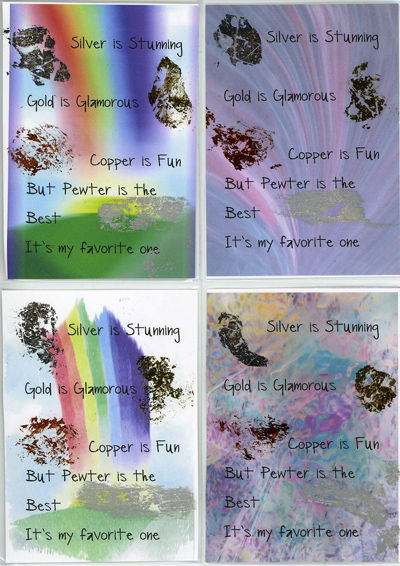
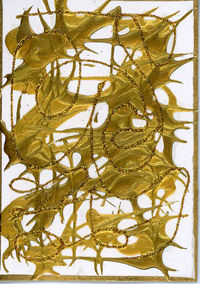
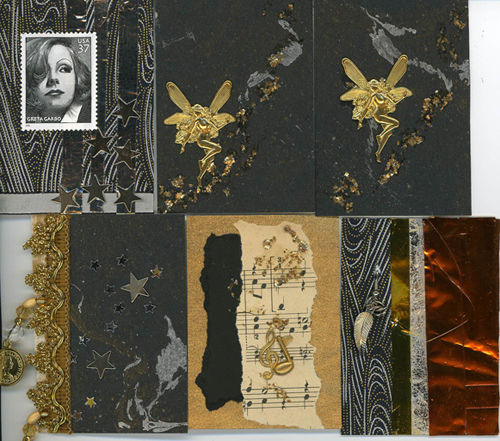
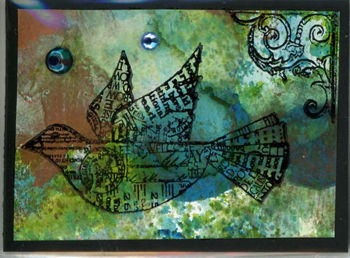
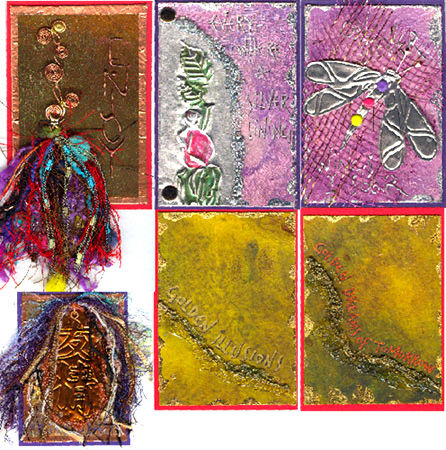
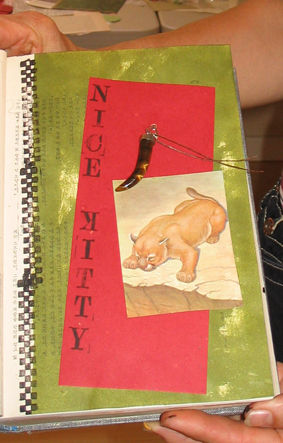
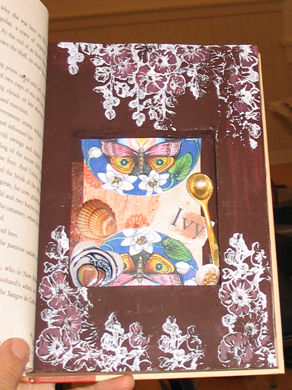
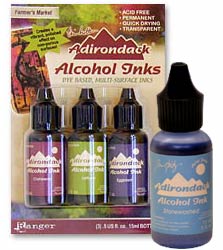
Another fun tip: Working with Alcohol InksA lot of you have been playing with Alcohol Inks for forever, but I'm new to them. And I haven't had so much fun since the pigs ate Grandma!
Essentially, you take glossy
white cardstock, drop a few different colours of Adirondack
Alcohol Inks onto the page and smoosh! The great thing about these
colours is that any combination seems to work! Dropping the colour randomly on the surface of the paper and allowing the inks to blend by tipping the paper is one method, but here are a few more ideas:
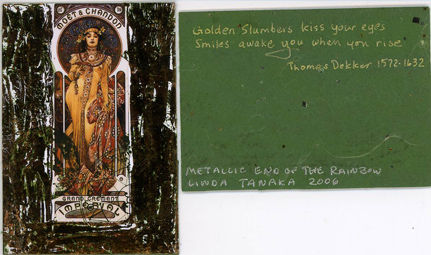
Once you've created your background, you may stamp or letter on it. Or leave it alone, it's a piece of artwork all by itself! Cut out pieces of your Alcohol Inked backgrounds and mount them on cardstock ( I love putting them on Black Cardstock). Then I use Gel Extremes to write on the inside. Yummy! Then, of course, you can play with the Metallic Mixatives on Black Glossy Cardstock.... Before you get started with these, make sure you have lots of glossy cardstock - Once
you start playing with these things, you won't be able to stop
Larger
version of the inspiration button
|
|
|
Donna K. |
Donna K. |
Jane |
Joanne R |
Julie B |
|
Linda T |
Linda T |
Mary-Beth |
Mary-Beth |
Nancy C. |
|
Nancy C. |
Nettonya |
Nettonya |
Nettonya |
Ruth C |
|
Ruth C |
Susan M |
Suzanne |
Vicky M |
Vicky M |
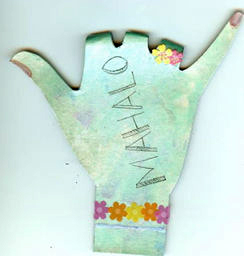
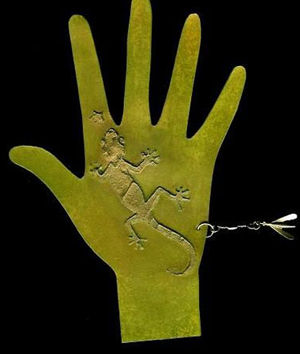
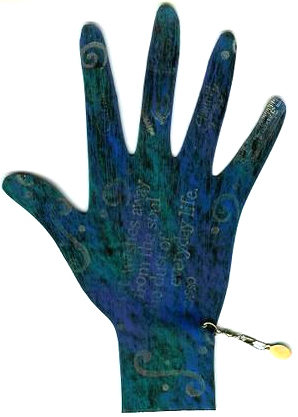
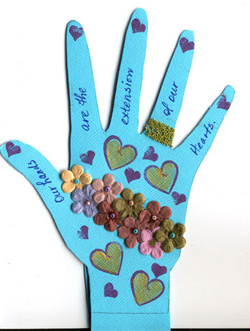
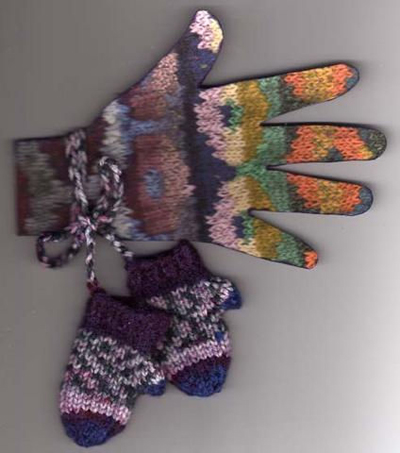
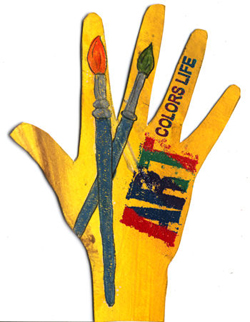
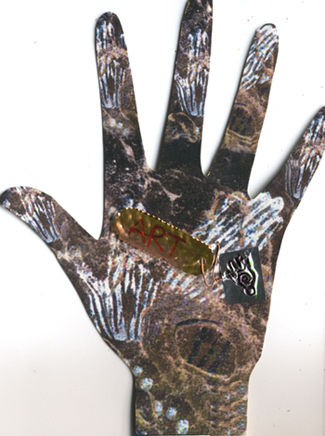
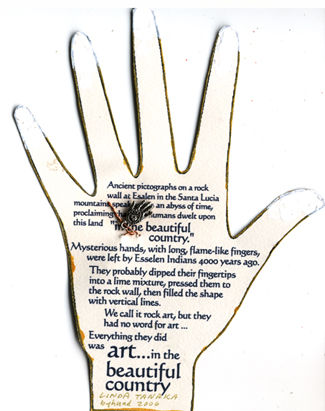
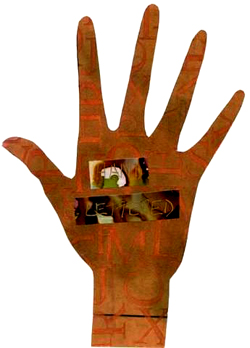
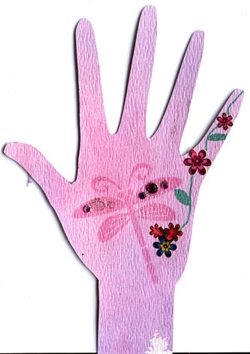
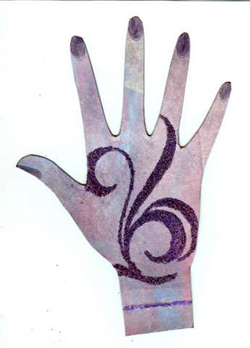
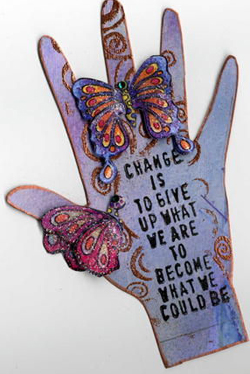
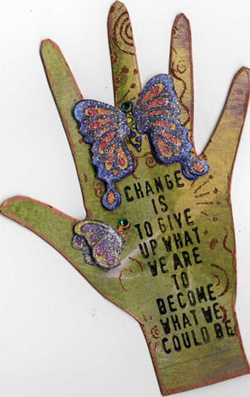
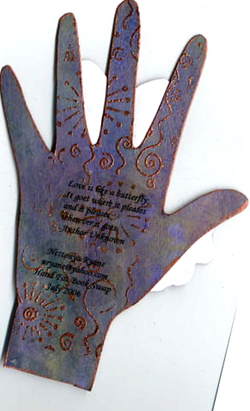
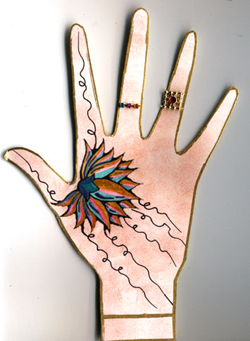
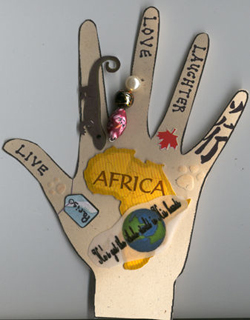
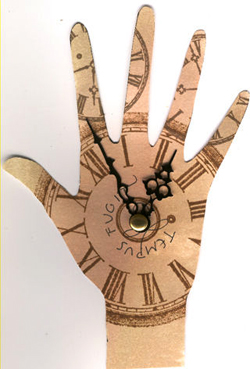
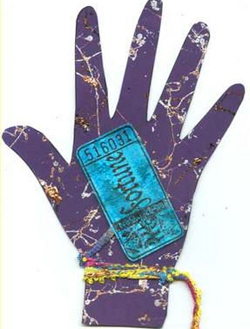
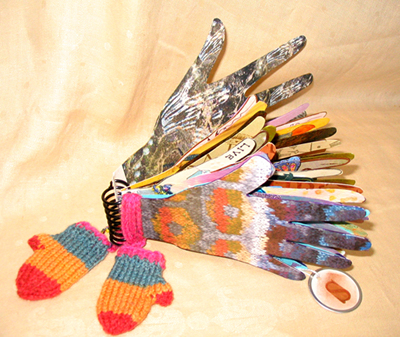
Here are my hands which I bound with my Rubicoil!
Cool, eh?!
Artists whose work is shown in this newsletter retain the copyright on their own work.
©
2006 Suzanne Cannon
This newsletter is for the personal use of the subscriber and may not be reproduced
without written permission from Suzanne. You are welcome to email or print it
in its entirety to share with friends, but ask that you include this copyright.
Thank you for your help and your understanding.


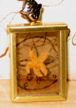 There
is a real little tiny starfish mounted between two pieces
of
There
is a real little tiny starfish mounted between two pieces
of 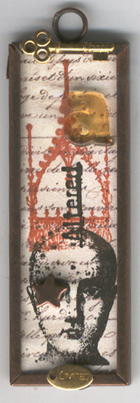 Okay,
so you have a bunch of these
Okay,
so you have a bunch of these