|
|
|
brought to you in living colour by Quietfire Design September 2003 - Issue 27 |
|
Wow, it's the fall! I hope you had a fun and creative summer! And if you didn't
have time for art, maybe the cooler weather and winter routines will allow
you to have some |
Important links at your fingertips!
How to subscribe to the byhand newsletter and other stuff! If you wish to contact me, my email address is: suzanne@quietfiredesign.com To subscribe: send me an email
saying 'subscribe'!
Come join us in our Yahoo discussion group, where we talk about artistic inspirations, make inquiries about techniques, and share quotes and resources.
|
|
Favourite things Well, Martha has her section and Oprah has hers, so move over ladies, here is mine!
I have to tell you about this new collage CD produced by
This unique collection of 434 full color images offers something for every swap theme or card. Instead of buying your vintage clip art photos by the sheet, and hanging on to your favorite image for a special project, you can print out as many of each image as you would like. Tint the photos in your photo editing program if you need it to match a special color theme, or print the images several to a page to complete multiples of a card. Size them to best fit your individual project. Print on the paper that best suits your project, or make custom stationary. With the CD format, there are no limits to how you can use the images! Purchase of the cd grants you full rights to edit and crop the images for your own personal use or to sell the completed projects. There are quotes about art, children, dance, dreams, books, wings and inspiration. Change the fonts on the quotes and print them out together to insert in collage and other work. This CD also contains tips and tricks for printing multiple images to a page and information on how to get ideal printing output. Send me your "Favourite Things" suggestions and you might see it here! |
|
Gentle Thoughts
In memory of Kim Sickler.
|
|
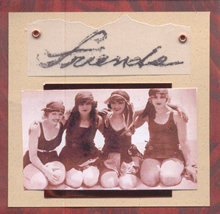
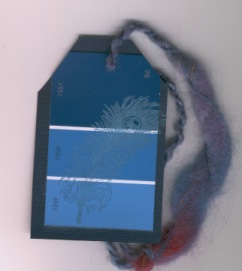
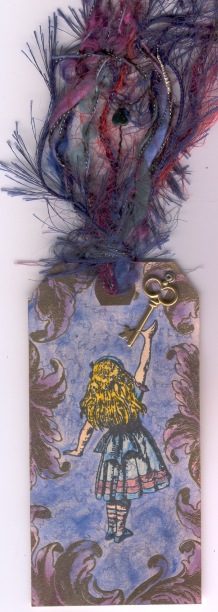
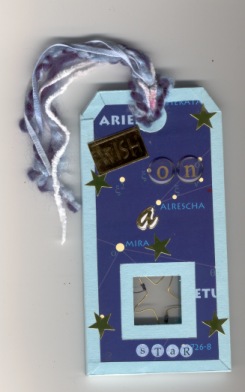
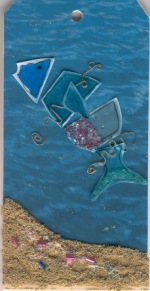
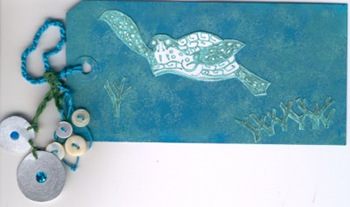
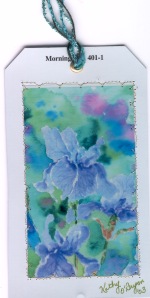
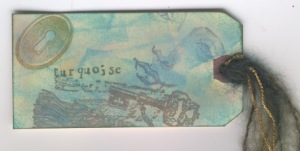
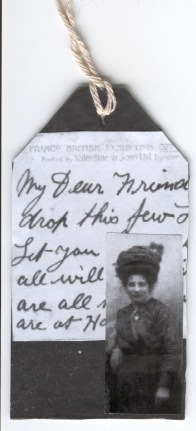
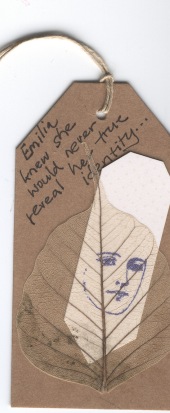
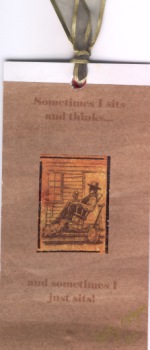
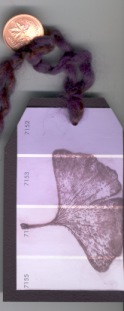
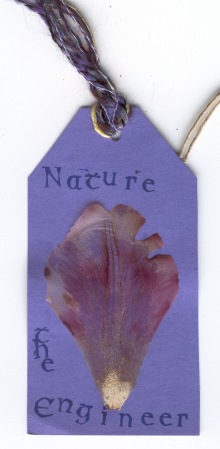
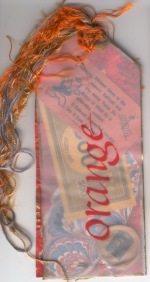
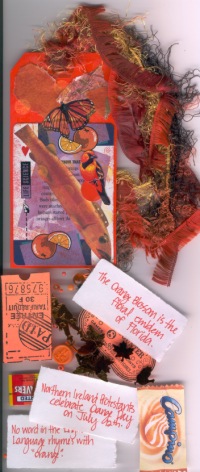
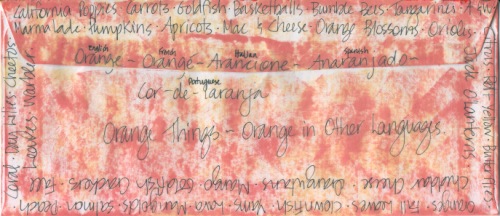
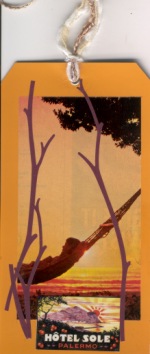
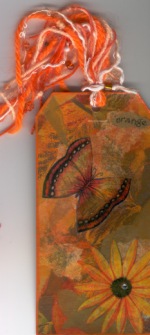
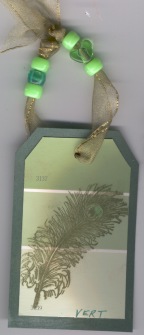
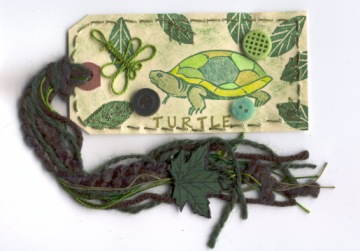
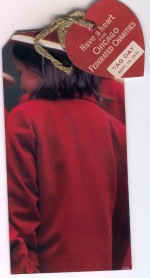
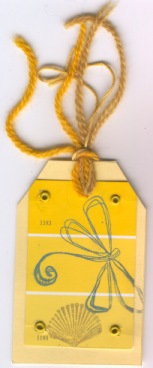
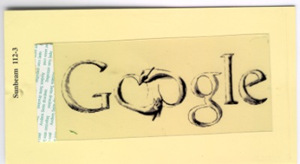
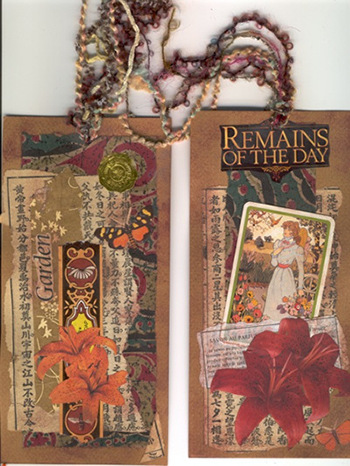
Summer Challenge Here are the fabulous results of the Summer Challenge! Participants
were asked to create
a tag using a colour scheme chosen from the list below and to mail in
it. Thanks
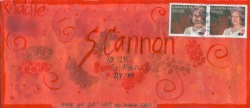
to everyone who participated!! Many of the envelopes were decorated
to match the tag colour. And many were wonderful on both sides. And
the winners are.....(drum roll, please!) |
||||||||||||||||||||||||
|
||||||||||||||||||||||||
ARTwerx 2003
The only "casualty" of the event was the non-arrival of Karen Michel, who fell victim to the huge power outage on the east coast and was unable to fly out of New York. The vendor market on the Friday evening seemed to be a raging success. There were lots of people in the room and it was so wonderful to have all those vendors with all their cool stuff in Vancouver at the same time! I was too busy to get away till the very end, darn it! A special thanks to Nancy Q., co-hostess of my B&B in the Lower Mainland and my assistant at the Vendor Market. I don't know what I would have done without her. She measured out many yards of waxed linen thread. Thanks to everyone who came by to say Hi! I got to meet some fabulous artists who I had only corresponded by email with before - like Lenna Andrews Foster and Cindy Pestka. My only regret is that I didn't get to spend more time with them! I was in Nina Bagley's class for all three days, so I don't have a lot of pictures of different instructors and their classes this year, but I hope you can get a feel for the event with the few pictures below. I checked and no one said they were in the witness protection program, so here they are! |
|
|
|
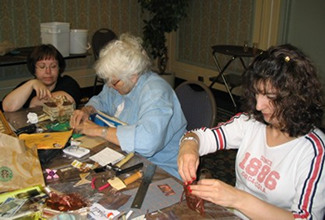 Christina, left (our Artwerx hostess), dropped in to see what we were up to. Gretchen and Angela are hard at work! You should have seen their books! Yum! |
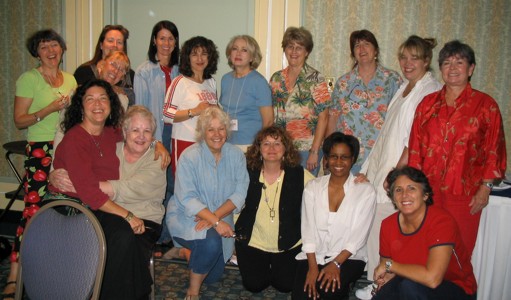 An almost complete class photo of Nina's Artwerx 2003 class! |
|
|
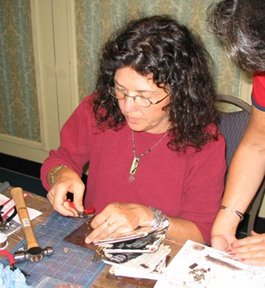
Some of were interested in the details of the book I made in Nina's class... (and this is nothing compared with other books made in that class - they were fabulous) We were all given the same basic supplies to create our books, vintage copper necklaces, sheets of copper, eyelets, bezels, and other toys. We began the first day by constructing a necklace - a most unusual necklace, guided and encouraged by Nina. The second day, we began to construct our books.... |
|
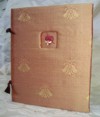
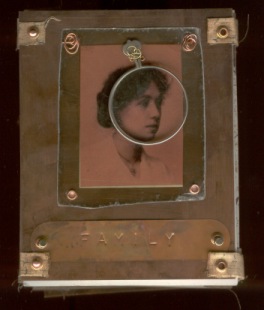 Here is the cover, made of solid copper. The photo is a transparency of my grandmother. There is a sheet of mica and an optical lens over top of the photo. The word "family" is metal stamped on a copper tag and attached to the cover with eyelets and eyelet washers. |
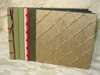
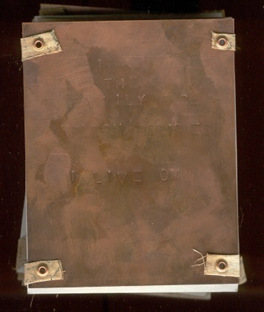 Here is the back cover which has the first two lines of Thomas Hardy's poem The Family Face which has been metal stamped into the copper sheet. Unfortunately, this doesn't show up very well! All the copper was antiqued with a solution of Liver of Sulphur. |
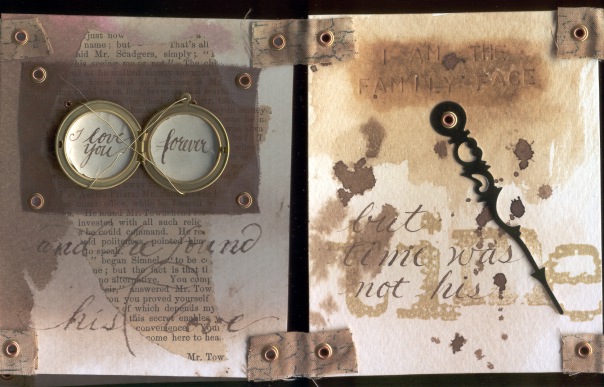
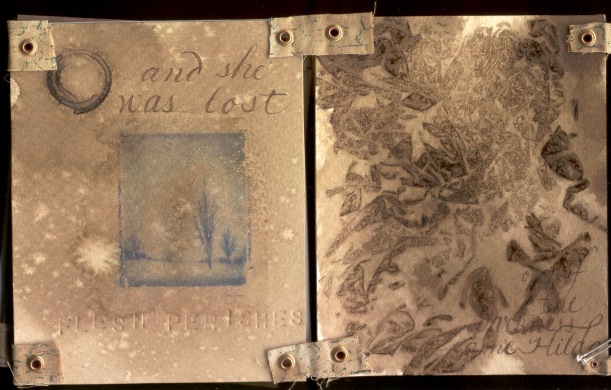
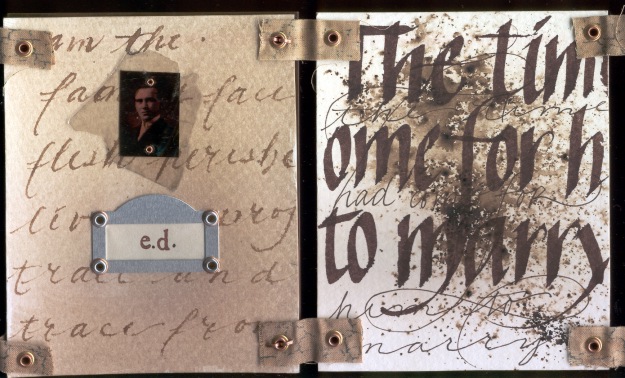 I really didn't know what I was going to do when I began this whole process and it seemed like I spent a lot of time sitting in a daze.... All the panels in our books were originally white mat board, which we brought to class precut and antiqued with tea or coffee. I used walnut ink. Each of the panels were attached with strips of fabric which were held in place by eyelets. The left panel above is a transparency of my Grandfather, E.D. (Elmer Daniel) as a young man. (it's a bit dark in the scan). The background lettering is the Thomas Hardy poem. On the right the words "the time had come for him to marry". |
|
|
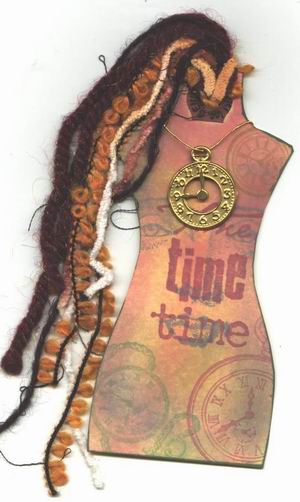
On the left panel, a locket is wired on and the words "and he found his love". On the right "but time was not his" with the hand of a clock and the word "time" stamped on with Ma Vinci rubber letters. Also I used metal stamps to add "I am the Family Face" stamped right into the bookboard. |
|
|
|
|
|
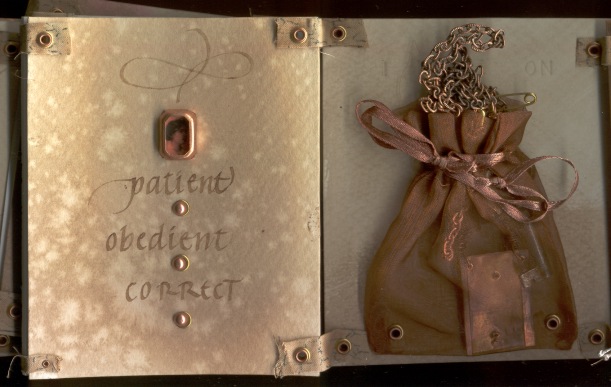
On the left is a photo of my grandmother
in a bezel with the words describing her. Each of the words is separated
by a copper brad inserted through
a brass eyelet. Thanks to Nina for a wonderful class that was over far too soon! I am the Family Face - Thomas Hardy |
|
The byhand Artists Get-Together at Artwerx 2003 |
|
|
Thanks to everyone who came!
|
|
|
Nacho Time! |
|
|
Suzanne's Schedule
2003
2004
|
|||||||||||||||||||||||||||||||||||||||||||||||||||||||||||||||||
| Blowing my own Horn... Somehow I've managed to get into a few publications lately. Here's where the artwork is.... |
|
|
Stamper's Sampler Magazine |
Somerset Studio's |
|
and the third place: Stay tuned
for the November December issue of Somerset Studio. Artbras in Melange....
|
|
|
Copper Mini Book Swap In this swap, participants were to make small books, not larger than 3x3" and no thicker than 1/4" and use copper as some form of embellishment. Here are the final six books (the first six are in the July/August issue of byhand). They are lovely and imaginative and so varied! Enjoy the results! |
|||||
|
The Players in this swap were:
|
|||||
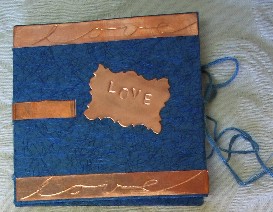
Jackie Doll For my book, I used Arches Text Wove for the signatures. I painted the pages with Pelikan Plaka paint and wrote with Pearl-ex pigments mixed with gum arabic. For the inside I used vellum paper. I decorated the cover with copper tape for stained glass. The decoration in the centre is a copper plant label. To make the covers, I covered 2 pieces of 6 in. by 3 in. pieces of Bristol board. I then folded them in half. Using an 8 in piece of Vellum, I make 1/4 in fan fold in the centre and sewed the signatures and covers into it with embroidery floss. I then glued the covers. |
|||||
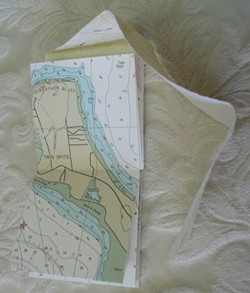
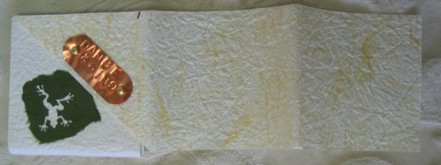
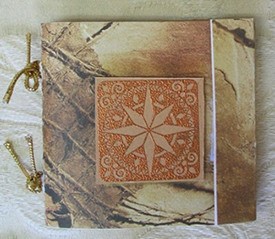
Anne Atkinson Anne used a depth chart to create a text block and the origami folded cover is embellished with a copper tag secured by brass brads. And then there is that froggy(!), only revealed when the cover is unwrapped.... |
|||||
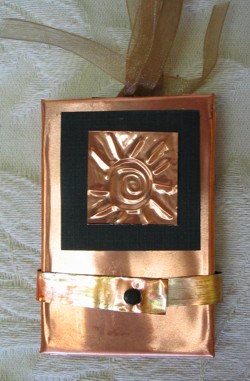
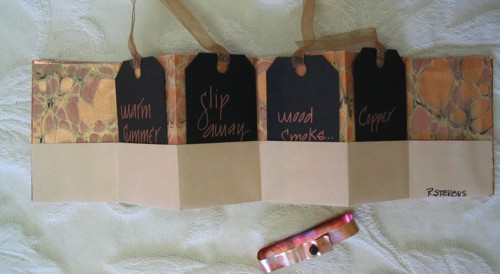
Pam Stevens Westbank, BC I started my project several times and finally ended up using smaller matt boards than planned. I found some embossing copper in our only craft store and thought it would be a piece of cake. I had to use my husband's tin snips to cut the stuff and also to cut off the excess to fold over the covers. Some were definitely better than others but I tried to match them as best as possible. Now the challenge of what to put inside? I found some beautiful copper marbles paper in my stack and cut it to create an accordion fold with a pocket on the bottom. I used black canson paper to cut little tags for each pocket, punched a hole in each top and tied little copper organza ribbon to each. Being a calligrapher I find it very difficult to just send it off without any lettering. I used the words from James Taylor "Copperline" for my quotes. On the cover I cut out small black squares and put a small piece of embossed copper. To close the little book, I used your idea of colouring the thin strips using a candle and joined the ends but punching a hole and used a small black brad. This allowed it to slide over the book. It was a challenge but I was most pleased with the result. |
|||||
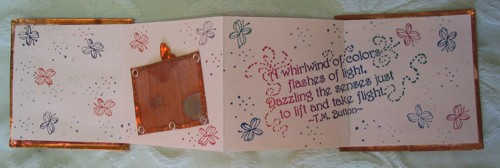
Kari Bennett ....was done with copper foil. I had some scrap that I used my butterfly punch on. I then punched some mesh with the same. The inside was accordion fold with rubber stamping and a mesh pocket with another butterfly punch. Stamps are "Stamps by Judith", butterfly and dots, and the verse is "Stamp of Excellence, Inc." |
|||||
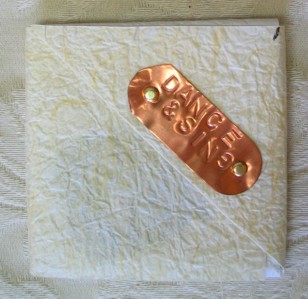
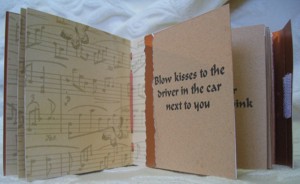
Marilyn
Smitshoek I had a hard time finding any kind of copper stuff at the craft stores - really disappointing. Mainly they just had copper foil kits and a few copper charms like pots and pans. I finally decided on the copper paper and copper wire. I already had the embossing powder. My first idea was to hold the books together with the wire, but I decided against that (might be too sharp and pointy). When I found the paper with the musical notes, I decied to make a staff out of the wire. The writing came from a creative writing class I did recently at Langara. Someone made the comment about "dancing like no one is watching" and it went from there. So I chose a selection to use in the books. It's fun to find out which ones people have actually done, but no one, so far, had admitted to dying their rottweiller pink. Maybe I will inspire someone to try it. Well, have a great summer. Poor me. I have to go to Europe and paint. Sorry. I do like to rub it in. (ed. note - I offered to go in her luggage, but she said a bunch of other people were already in there....) |
|||||
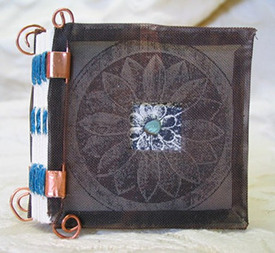
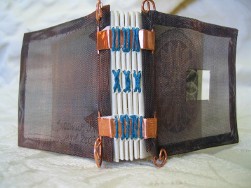
Suzanne
Cannon I went through a variety of designs and sort of fell into this one after messing around for a while. I used copper mesh coloured with Liver of Sulphur for the covers. The signatures are stitched over copper tape which is anchored to the covers around 20g. copper wire. The copper wire is threaded through the copper mesh. The rubber stamped inside the front cover is a Hero Arts stamp and the very centre of the design, revealed by a cut out square in the mesh, is embossed with verdi gris embossing powder. |
|||||
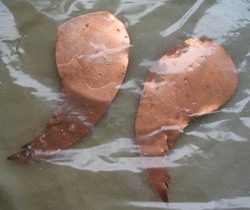
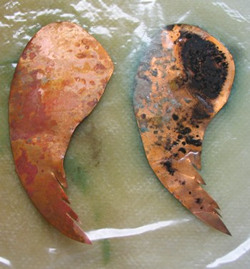
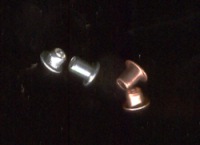
A Passion for Copper - Part IXParts I through VIII are available in previous issues of byhand Salt and Water
after one day you can see a little tarnishing (left) and after three days, one side turned more black than the other |
Stolen Moments
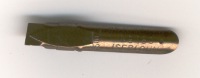
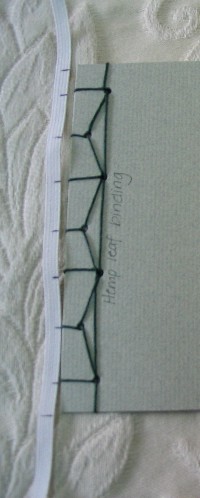
I have a really cool tip for you.... It is one of those tips that makes you go "Aha!" It is actually something I learned in dressmaking when sizing UP patterns, and I keep meaning to pass it along to bookartist types like yourself. Let's say you have made a smaller book (4X6)
and you like the scale of the holes in proportion to the length of the
spine. Now you want to make a larger book with a longer spine (eg. 6X9),
with the same pleasing proportions. An easy way to size up is to use a length of elastic; the kind sewers put in waistbands. I use clear elastic but any elastic will do. Cut a length about two inches longer than your original, smaller book's spine. Lay it along the spine of the smaller book. With a pen, mark directly on the elastic the location of the head and tail and each hole. (see photo at left)
If it is a LOT larger than your original, you may want to add extra hole marks situated evenly between the marks you made previously. Try this - you'll like it!
In the bottom photo, the elastic is stretched and the cover of the new book will have the stitching holes marked beside the elastic. Thanks Charmaine for a great "cross-over" technique! |
Site Siting |
|
|
Vickies's Retro chic |
Patti accepts the challenge to create! |
|
Patti is on a roll! |
Tracey joins in! |
|
Patti just loves these things! |
Tracey jumps back in! |
|
Now it's Donna's turn |
Donna adds to the challenge |
|
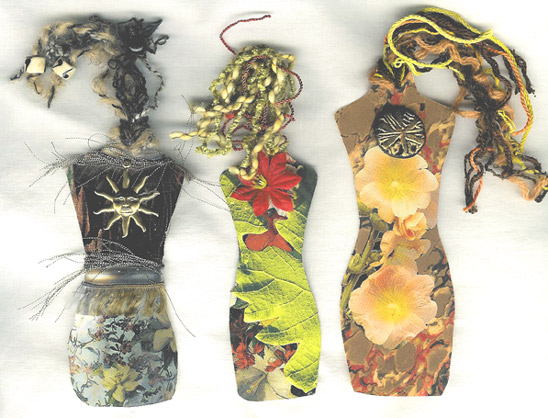
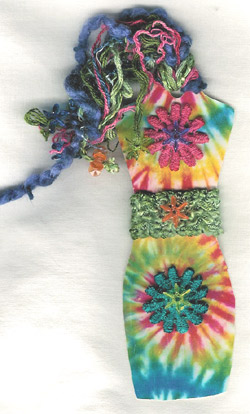
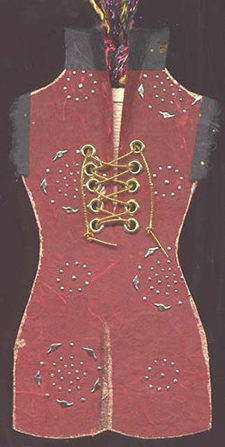
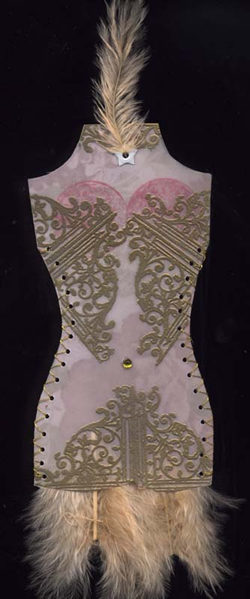
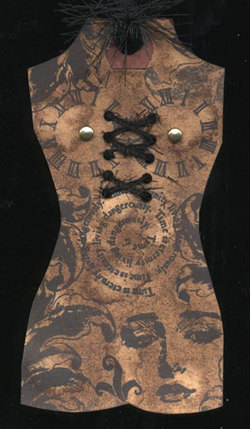
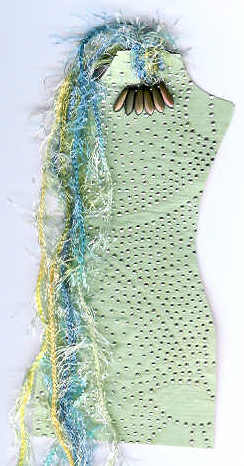
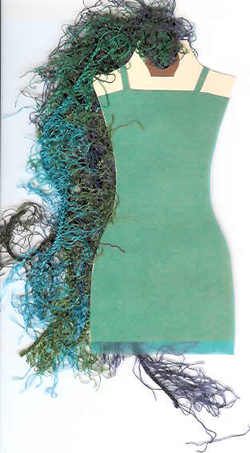
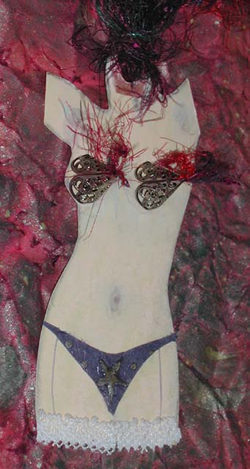
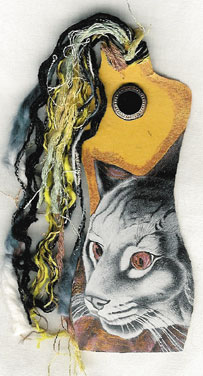
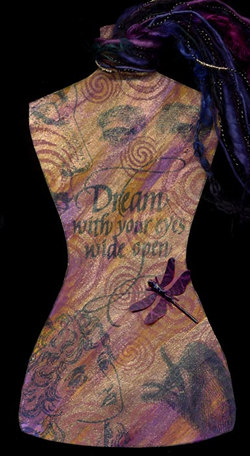
Patti's Madonna torso |
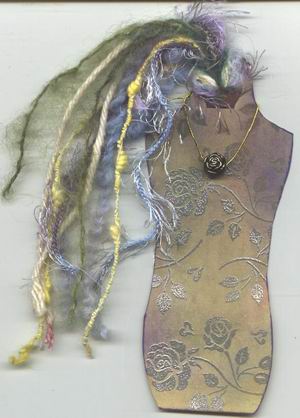
Vickie's The Woman Within |
|
Vickie's Wild Woman within |
Vickie's Inner Cat Spirit |
|
The words within... |
Patti uses Quietfire rubber! |
|
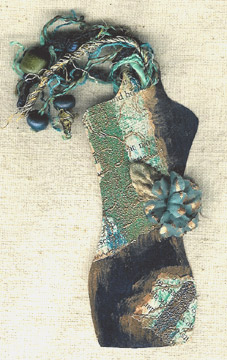
And from the lady who started it all.... Vickie's Blue Green Torso |
|
 |
 |
|
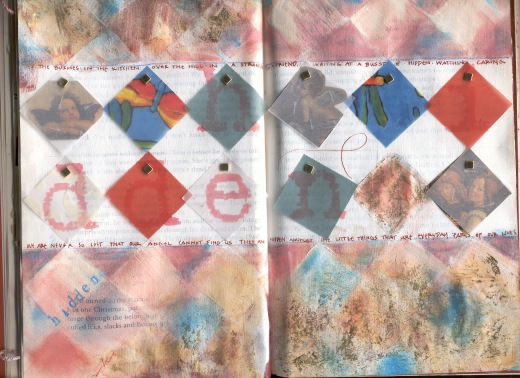
byhand Altered Book ProjectIn
late April, after some discussion on the byhandartists list, I thought
the thing many of us needed was a step-by-step project to get started
on our altered books. It's fine to have all these techniques thrown at
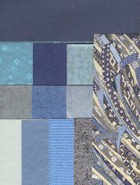
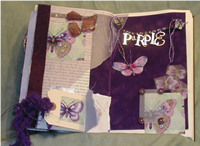
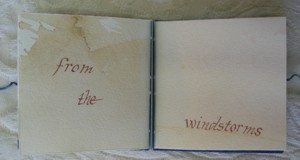
you, but unless you have a lot of drive, it's easy to wallow in the information. This month we present to you our vellum spreads. Each person used vellum in some way to decorate their pages.
We hope you enjoy them! Please click here or on any of the images below to take you to the complete page of Vellum Spreads! |
||
 |
 |
 |
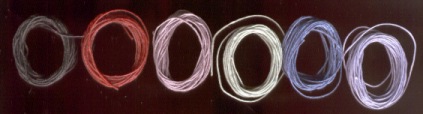
Below are just a few of the byhand products! To check out the complete selection, click here!Waxed Linen Thread
4-ply Waxed Linen Thread Please see the byhand Products page for the complete list of colours! |
|||||||||||||||||
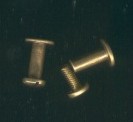
The eyelets! |
Subtle, but they make a statement! These are washers for your 1/8" eyelets. What will they think of next???100/package available in: brass
|
||||||||||||||||
|
|
|||||||||||||||||
|
They fit nicely on a bookboard of about 2.2mm thickness covered with decorative paper.
To order any of the above items and the rubber stamps
go to: |
|||||||||||||||||
|
If there is any information you would like to see in this newsletter,
let me know. Each month I will email you to let you know the new issue
is published. If you know someone who would like to receive notice of
byhand, just have them email me and I
will put them on the list. Bye for now and thanks for visiting! suzanne@quietfiredesign.com |
|
|
The original title lettering of byhand was done with a Mitchell's Roundhand Nib, size 0, and Higgins Eternal Ink. Quietfire Design Rubber stamps were used to create the other designs. |
| byhand Newsletter | Quietfire Design home page |
| Calligraphic Art | Handbound Books | Rubber Stamps | Ordering Information |
| Publications | Exhibitions | Calendar of Events | Classes | About Us |


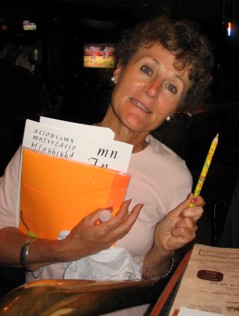 When
the byhand artists met for a get-together during Artwerx, we were a small
but cheery crowd - although I think Charmaine here on the left was gritting
her teeth at bit as she humoured me taking her picture! (That's not really
a new type of earring by her ear, it's the TV in the background at the
Thirsty Turtle Pub!)
When
the byhand artists met for a get-together during Artwerx, we were a small
but cheery crowd - although I think Charmaine here on the left was gritting
her teeth at bit as she humoured me taking her picture! (That's not really
a new type of earring by her ear, it's the TV in the background at the
Thirsty Turtle Pub!)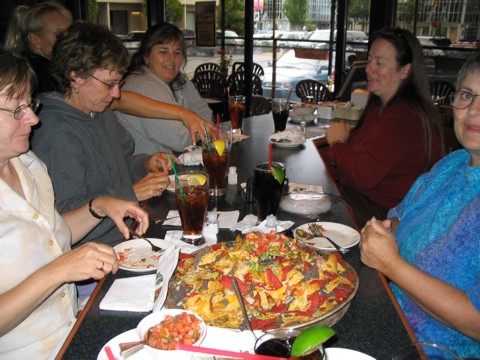

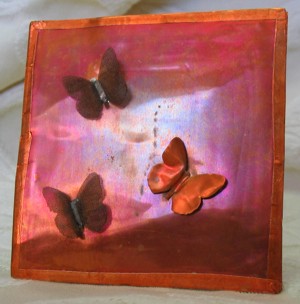

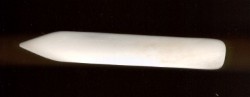
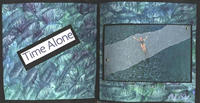
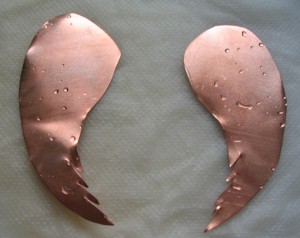 For
this experiment I cut angel wings (for one of the spreads in the Altered
Book Project) and placed them on a wet paper towel. I spread salt all
over them and the paper towel and placed the whole thing into a ziplock
bag. Then I waited. The effect is quite similar to that of the bleach/vinegar
treatment discussed in another issue of byhand, except it takes longer.
(But it smells a whole lot better!) It took several days for the full
effect seen below. And I'm not sure I like the black.... But the great
thing about this technique - everyone has salt and water!
For
this experiment I cut angel wings (for one of the spreads in the Altered
Book Project) and placed them on a wet paper towel. I spread salt all
over them and the paper towel and placed the whole thing into a ziplock
bag. Then I waited. The effect is quite similar to that of the bleach/vinegar
treatment discussed in another issue of byhand, except it takes longer.
(But it smells a whole lot better!) It took several days for the full
effect seen below. And I'm not sure I like the black.... But the great
thing about this technique - everyone has salt and water!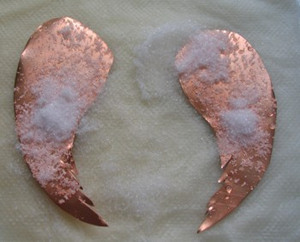
 This
tip comes to us courtesy of Charmaine Stack, who gave me a personal
demonstration when a group of us met for tea in Victoria a few months
ago! (I needed that personal demo before I "got it"!) Here
is what she wrote me:
This
tip comes to us courtesy of Charmaine Stack, who gave me a personal
demonstration when a group of us met for tea in Victoria a few months
ago! (I needed that personal demo before I "got it"!) Here
is what she wrote me: 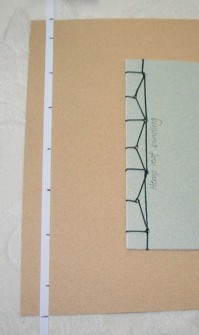 Now
take that elastic and match up the head and tail of your new spine.
The elastic will stretch evenly and you can mark the new hole locations
for the larger book. Remove the elastic and look at the book.
Now
take that elastic and match up the head and tail of your new spine.
The elastic will stretch evenly and you can mark the new hole locations
for the larger book. Remove the elastic and look at the book. 


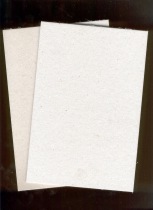
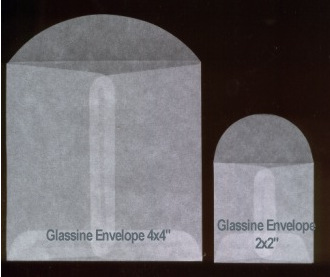 The
Envelopes
The
Envelopes 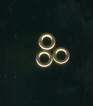
 Anywhere
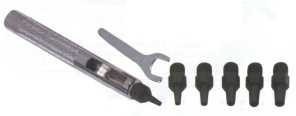
punch with 6 bits This wonderful punch has 6 different bits allowing
you to punch holes in the following sizes: 5/64, 3/32, 1/8, 9/64, 5/32
and 11/64 (or 2, 2.5, 3, 3.5, 4 and 5 mm)
Anywhere
punch with 6 bits This wonderful punch has 6 different bits allowing
you to punch holes in the following sizes: 5/64, 3/32, 1/8, 9/64, 5/32
and 11/64 (or 2, 2.5, 3, 3.5, 4 and 5 mm) 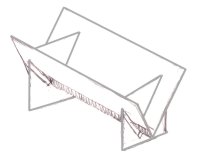
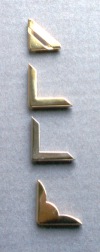 Book
Corners
Book
Corners