|
|
brought
to you in living colour by Quietfire Design
May 2005- Issue 45
|
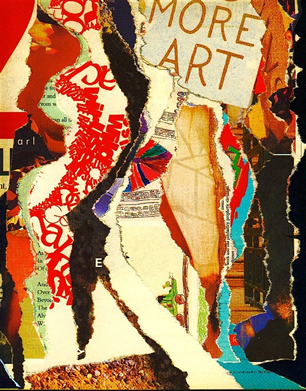
Gentle Thoughts
|
|
Important links at your fingertips!
|
||
|
Hi
Everyone!
|
I can't tell you how pleased I am that
you are offering product here on the island and it is available in Canada!
I also appreciate how easy you make ordering, answering questions and
shipping. Nadine M. - Victoria, BC
Join
the supporters of byhand and become a
For more details, go to the If
you wish to contact me, my email address is: To
unsubscribe: send me an email saying 'unsubscribe'.
I'll live.... (sniff)
Don't forget if you'd like to share some artwork that you have stamped with a Quietfire Rubber Stamp, please send me a copy and I'll be delighted to put in the Stamping Gallery. Don't be shy!
Suzanne is a member of the
Visit my little gallery page on the ISABA website!
|
|
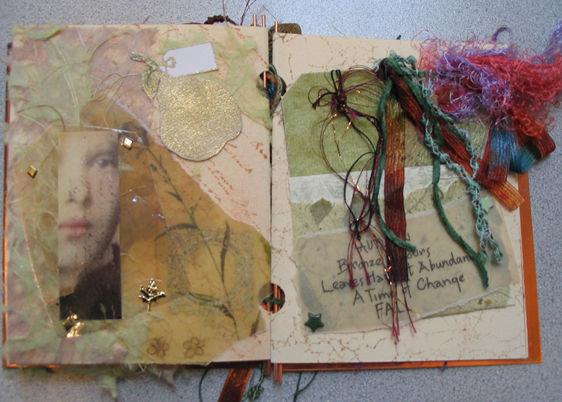
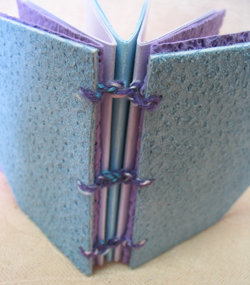
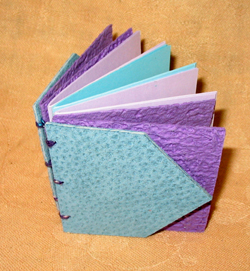
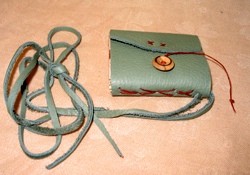
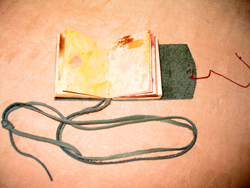
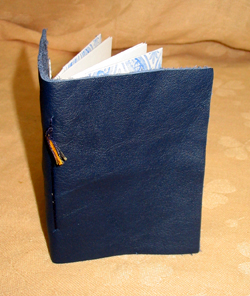
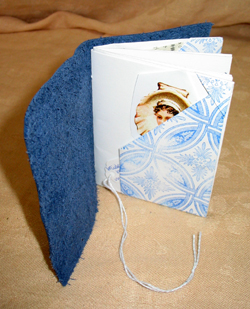
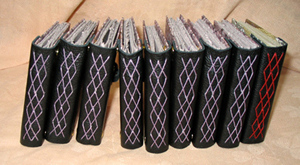
2005One of the new workshops for 2005...Harlequin Stitched Spine Journal...
|
|||||||||||||||||||||||||||||||||||||||||||||||||||||||||||||||||
Quietfire RetreatThere is still room and time to reserve!
June
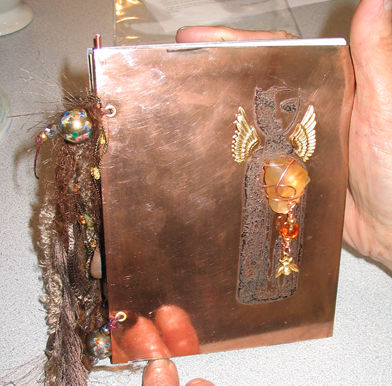
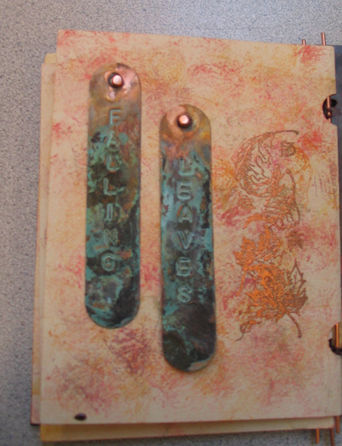
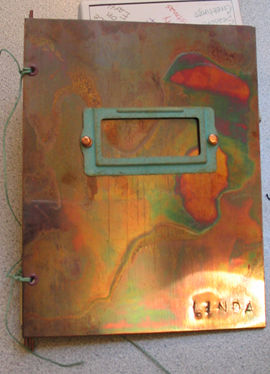
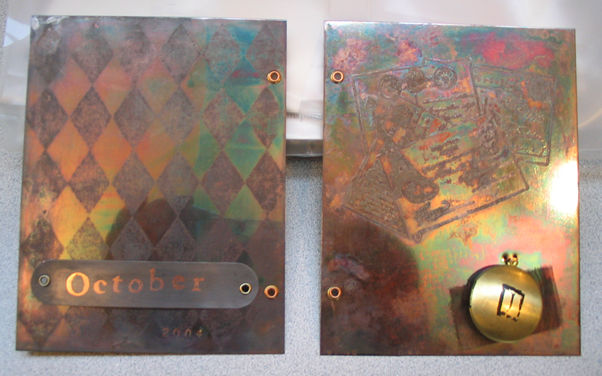
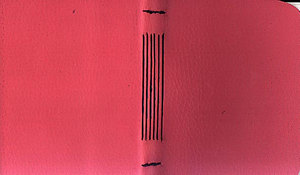
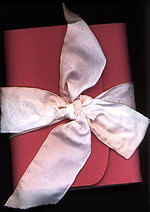
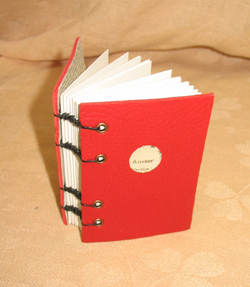
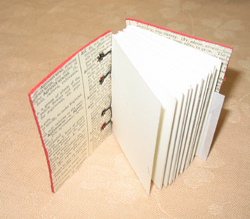
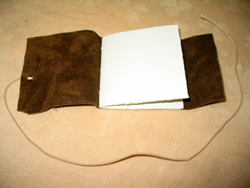
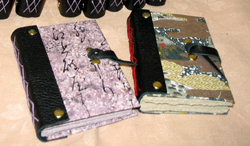
11 & 12, 2005 The Copper Book 2-day WorkshopThis weekend will include
Here are some amazing examples of what students have created in the Copper Book class. You can see more in the Class Photos section of my website. More
information about the Copper Book workshop....
|
|||||||||
|
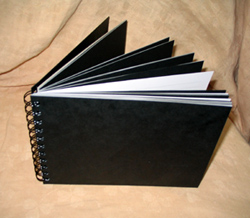
Start your shopping here for the new rubber stamps! Other New Goodies!Coil Journal |
||||||
|
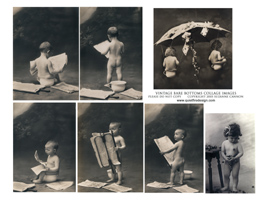
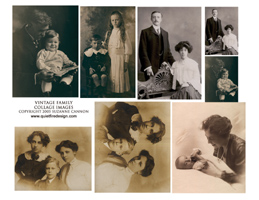
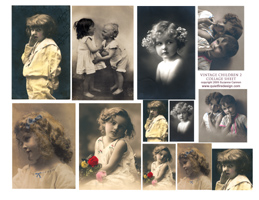
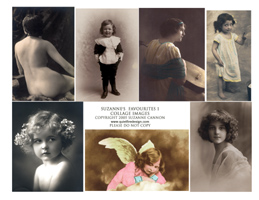
New Vintage Collage Sheets Perfect for collage, ATCs, Altered Books
or anywhere you need that warm vintage look!
|
||||||
|
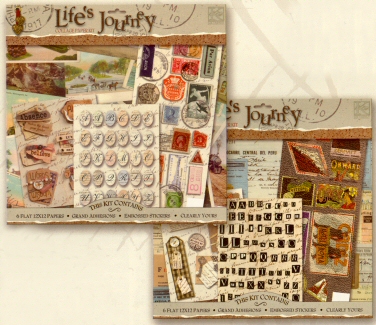
K&Co. Paper Kits |
||||||
|
|
||||||
|
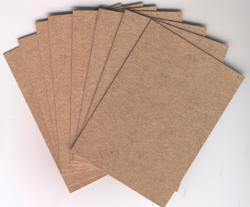
Kraft card ATCs! |
|
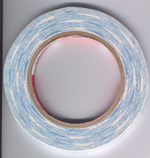
Fabulous double-sided tape!
|
||||
 |
 |
|||||
 |
 |
|||||
|
||||||||
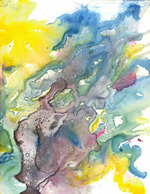
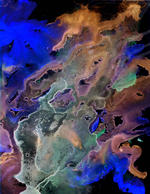
Stolen MomentsRose Davidson tell us about painting with Yupo
Well, for starters, I'm not a serious painter. Never have been. I just love to get out my paints and have fun. When a satisfactory painting emerges I am overjoyed. More often than not, the painting goes under my studio table, perhaps to emerge for a second look sometimes months or years later. I don't get over failure easily!! However, that is not the case with Yupo paintings. Because it isn't like traditional paper, actually it's more like plastic; it can be taken to the sink and simply washed off. A few of the more staining paints may leave slight traces but basically you could use the same piece of yupo over and over again. But, why would you when it's so much fun? I've used watercolours, acrylics, inks, crayons and oil pastels on Yupo. Oil pastels and crayons and even fingerprints will require soap to wash off whereas paints will come off with a simple water rinse or a wipe with a wet sponge. What I love most about Yupo is the serendipitous nature of the results. No control issues here. Because its surface is resistant to water, the paints flow over it, instantly creating incredible abstract patterns. By tilting the paper this way and that, the colours mingle and swirl. Trying to capture detail with Yupo is an exercise in futility so it's best to "go with the flow". (Pun intended) Whenever I find myself getting uptight about my art I get out a sheet of Yupo. It's a great way to loosen up.
Ed. note: Every year Yupo has the Wally Awards for creative use of Yupo. To see more, click here. You can now purchase Yupo in the byhand Product pages! |
||||||||
|
Stolen
Moments Part 2
|
 |
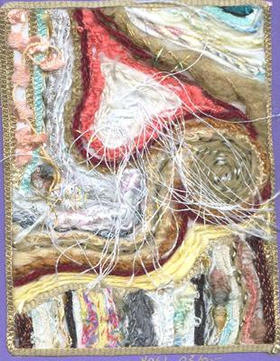 |
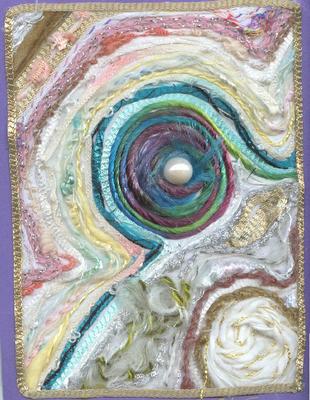
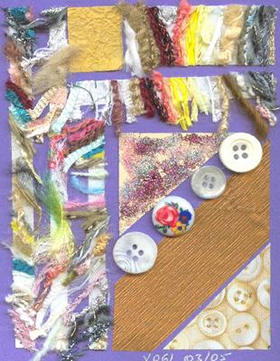
THE FIBER ARTWORK: The fiber artwork was a trial and error until I got the hang of it. I knew from past experience that gluing the fibers was a real mess. So I tried a few other ways. I finally opted for using my Xyron machine and regular cardstock. I worked on full sheets of cardstock rather than cutting the cardstock down to size. This gave me more "mental" freedom to swirl the fibers rather than be restricted to the smaller dimensions. I then cut out the areas I liked. While working on the cardstock I only lifted small areas of the adhesive backing at a time so that the adhesive would not get contaminated with fiber hairs. Loose edges I glued down with a bit of white glue. On some I added pearls and or buttons. For the larger fiber artwork I just glued a ribbon along the outer edge of the design. For the ATC's I decided to use my sewing machine to tack down the edges since they would probably be handled more and need re-enforcing. I cut little diagonal lines on the main card to hold the artwork. When the interior gluing and assembling was completed I then I attached the cards or ATC's to the main card by inserting the edges of the artwork into the cuts I made previously. I also hid a ribbon to tie the card closed under the artwork.
INTERIOR: I cut 1" strips which would be my vertical posts for my fibers to be held on and easily slide off of. I folded the top edge and stapled it to a horizontal strip of about 1/2'" and folded it again to hide the staple (I did this twice on either side of the card making 4 vertical posts). Using a basic glue stick I glued the horizontal strip to the top of the card on both sides leaving the center portion (1/2" fiber thickness) free. I put a strip of ½ " at the bottom but only glued it at either end. I then made a fold in the vertical strip to catch under the bottom horizontal bar so the fibers wouldn't fall off.
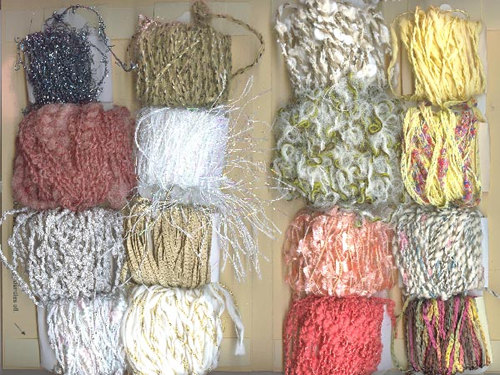
THE FIBER BUNDLES: I made 1" strips which I used to wrap my fibers onto and then stapled it on the back. The loose end of the fiber I tied to a tag I made that included the name and description of each bobbin of fiber, and put this tag between the fiber and the staple. These bundles were now ready to slide along the posts.
|
If there is any information you would like to see in this newsletter,
let me know. Each month I will email you to let you know the new issue
is published. If you know someone who would like to receive notice of
byhand, just have them email me and I
will put them on the list. Bye for now and thanks for visiting! suzanne@quietfiredesign.com |
|
|
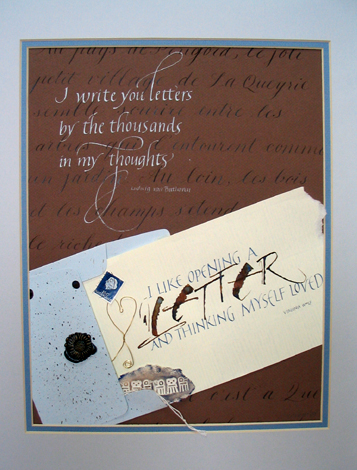
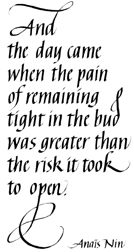
The original title lettering of byhand was done with a Mitchell's Roundhand Nib, size 0, and Higgins Eternal Ink. Quietfire Design Rubber stamps were used to create the other designs. |
Artists whose work is shown in this newsletter retain the copyright on their own work.
| byhand Newsletter | Quietfire Design home page |
| Calligraphic Art | Handbound Books | byhandproducts | Ordering Information |
| Publications | Exhibitions | Classes | About Us |
© 2005 Suzanne Cannon
This newsletter is for the personal use of the subscriber and may not be reproduced
without written permission from Suzanne. You are welcome to email or print it
in its entirety to share with friends, but ask that you include this copyright.
Thank you for your help and your understanding.