|
brought to you in living colour by Quietfire Design
| November 2004 - Issue 39 |
Gentle Thoughts |
|
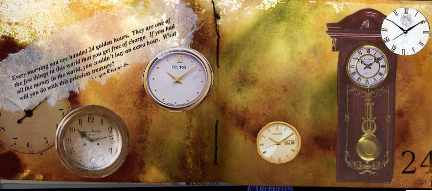
Happy November!
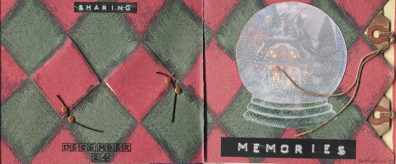
Retreat? |
Important links at your fingertips!
Join
the supporters of byhand and become a
For more details, go to the If
you wish to contact me, my email address is: To
unsubscribe: send me an email saying 'unsubscribe'.
I'll live.... (sniff)
Don't forget if you'd like to share some artwork that you have stamped with a Quietfire Rubber Stamp, please send me a copy and I'll be delighted to put in the Stamping Gallery. Don't be shy!
Suzanne is a member of the
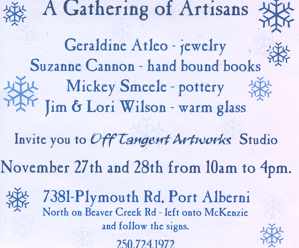
Site Siting There is a new Canadian Stamp Company! http://www.marysecarrier.com/
|
||||||||||||
|
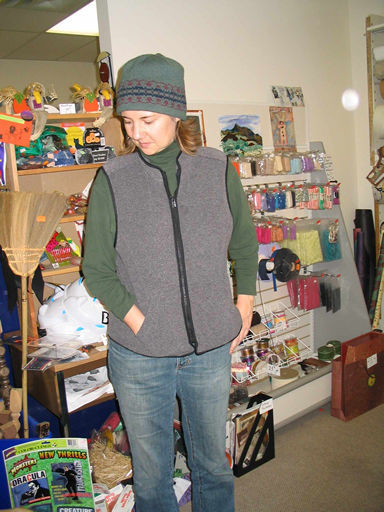
Recently, out of the blue, I received a call asking if I'd participate in an episode of Crash Test Mommy, a new reality series from the Life Network. Within 3 hours I was off to catch a ferry so I'd be ready to teach a private altered book class for Leanne Bishop at RubyDog's Arthouse in Vancouver. Unfortunately, I don't have any photos of the class in progress, you'll have to wait till February when the show airs to see that. But here are some of the photos I took after the class....
Crash Test Mommybegins airing Tuesday November 9, 2005, 3 p.m. and 9 p.m ESTHosts Charlie Lubiniecki and Dagmar Midcap whisk mom away from her home and her children in this 13-part series. While mom enjoys a two-day luxury retreat, a substitute momone of three candidates nominated by mom and chosen by the hostsreplaces her and is left to cope with the meals, meltdowns and daily challenges that are part of raising children. Meanwhile, Mom watches her family from afar via Web cam, providing insights and giving the substitute mom instructions when she sees her rules being carelessly ignored.
|
|
The Belgian Eyelet Kit This is not a beginner book! I would recommend that you have at least made one type of multiple signature book and find it easy to follow written instructions! I really don't want you to be frustrated or disappointed. The kit includes all the book elements you will need plus complete instructions. Bare Bones refill kits are also available. The selection will expand when the brass long neck eyelets arrive, so stay tune! For ordering and to see colour selection, click here |
|
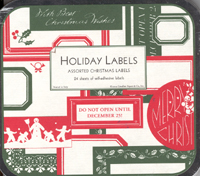
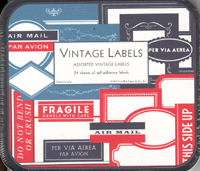
The New Stuff!!
Very cool Vintage Holiday labels. There are sheets of labels in each tin.
Very cool Vintage
Labels. 24 sheets of self adhesive labels in each tin.
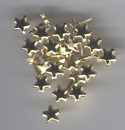
Gold Star
Mini-Brads |
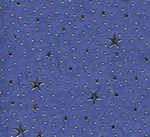
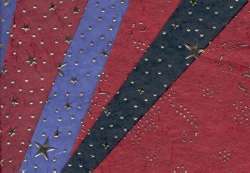
New Star Book Kits!
Star book in reds with the red foiled star paper for a cover!
Also now available is the Blue Star Book with the blue foiled star paper for a cover. Perfect for those holiday themes!
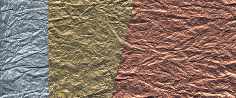
Metallic fabric-like paper in
Silver, Gold and copper |
||||
|
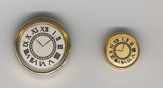
Fabulous new button embellishments
|
|||||
|
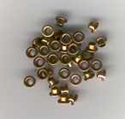
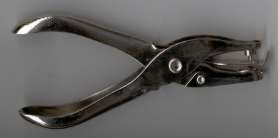
Antique eyelets |
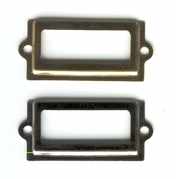
Brass and Nickel label holders,
|
||||
|
Click on each image for more information!
|
|||||
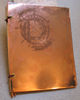
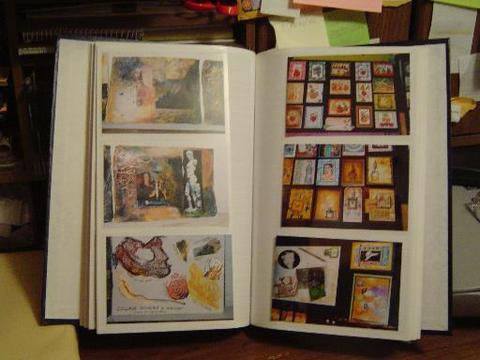
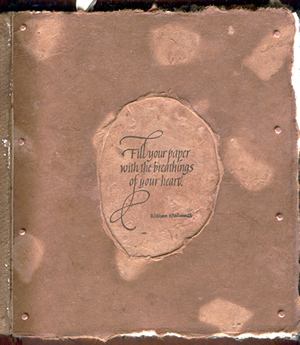
The Copper BookAllow me to introduce you to the Copper Book. Inspired by the copper covers on the books designed by Nina Bagley, this book adds new dimension with a fun binding where the signatures are wrapped around copper rods. This is a two day workshop where we stamp, etch, patina and drill copper and then fill the pages with the breathings of your heart. Here are a few samplings from the recent class. To see more of these incredible books, hop on over to the Class Photos webpage.
|
|||||||
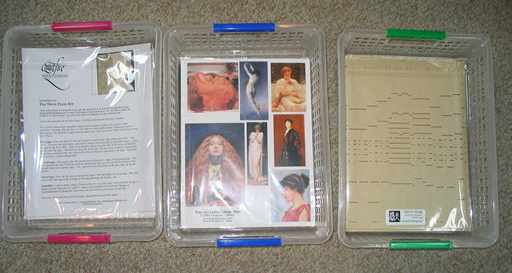
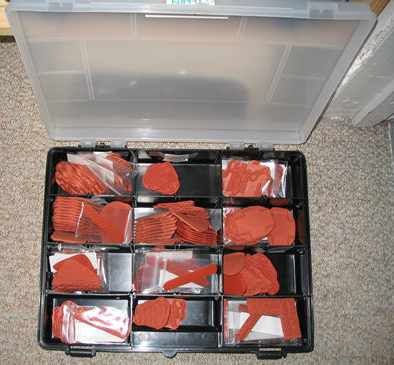
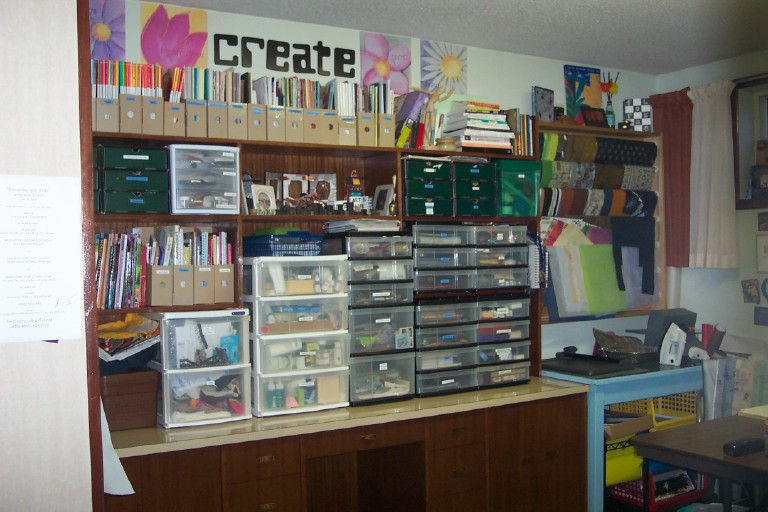
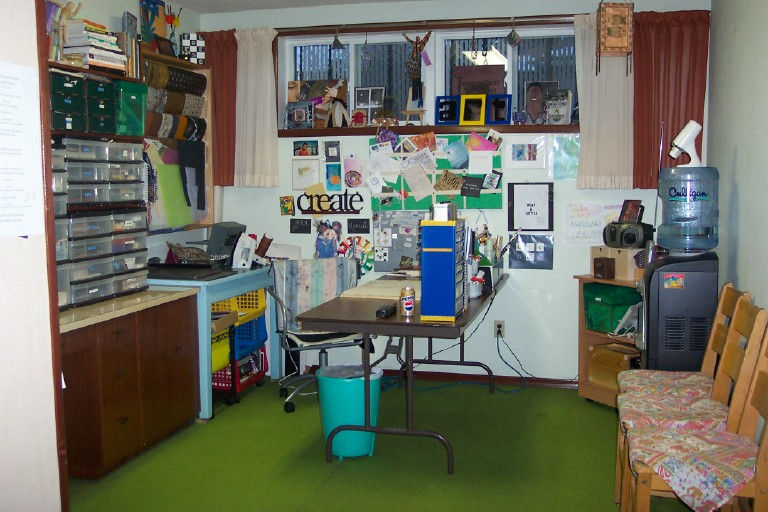
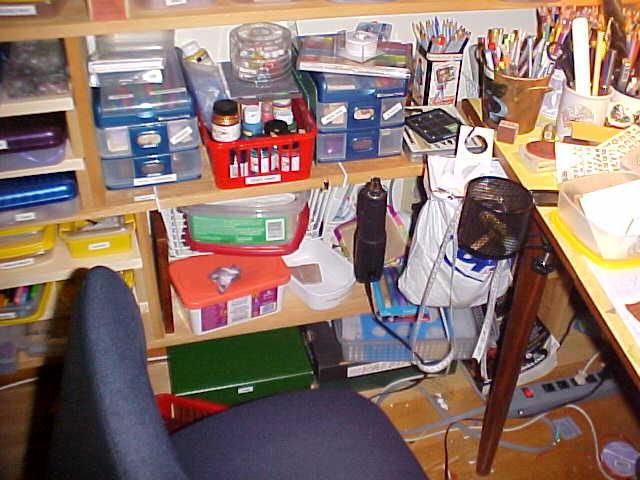
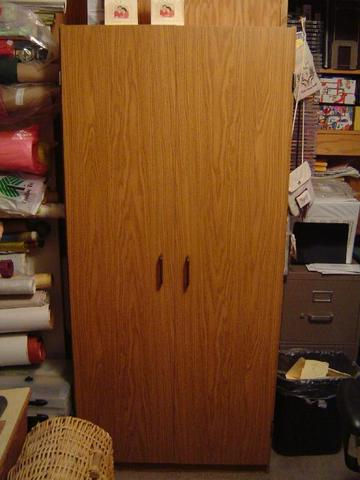
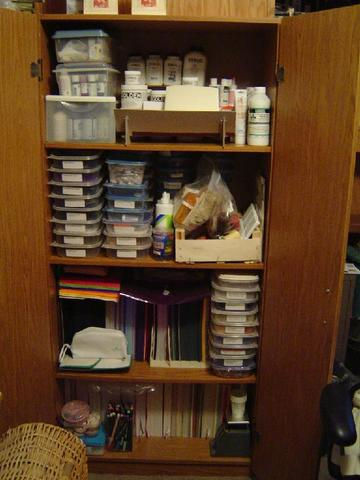
Okay, I'll be the first one here... I love plastic baskets and rubbermaid! The baskets will fit inside one another so are "stackable". I have found that those stackable, melamine closet organizers fit the baskets and rubbermaid really well. I have build 4 paper "ladders" for my full sheets of paper. I also have bought plastic organizers that are bigger than many which I store my unmounted rubber for sale in. I built the cabinet to house them as I was getting so many of them. It also provides another surface for working (mostly filling orders). I never seem to have enough surfaces! Suzanne |
||||||||||
|
I've been saving an old crib to use the slatted sides for displaying stamps, I need to get mine out of the drawers to where I can see them too. I read somewhere last year that you can mount the side panels from a crib onto a wall in an upright position, so that the bars are horizontal. If you place a spacer block behind the screws at the four corners to hold the panel out from the wall an inch or so, it will create narrow shelves for displaying mounted stamps - they'd only be one layer "deep" and easy to see and use. Carolyn A. |
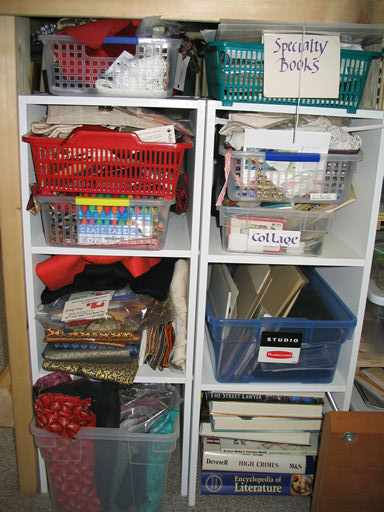
After a bit of thought about organization I would suggest
that the most important thing is that everything you own have a home.
I understand that in small spaces it is much more of a challenge to find
a home for everything... Therese in Trenton |
|||||||||
|
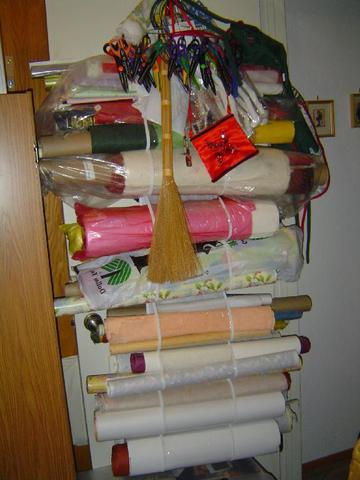
I decided I wasn't going to spend a bundle on a date book this year - in spite of my addiction to stationery. I found http://www.printfree.com/Calendars.htm where I printed each month with a box for every day. Printfree has a lot of format variety in their calendars. I chose them because they were the first site I found that included holidays! Suzanne For those rolls of full sheets of paper and book cloth, use an old bucket (check out the ice cream parlours, they usually sell them cheaply!) or an unused Duplo or Lego bucket (all Duplo and Lego in our house is in one huuuuuge bin now). Or you can go to the liquor store and pick up those boxes for rum (preferrably empty! or not...) and taller bottles with the dividers. Suzanne
Wine racks make great rolled paper holders :) Vickie "mack" |
I only starting stamping a few months ago but did some bookbinding a bit before that and have combined the two interests. (We'll forget, for a moment, the quilting, rug hooking, cross stitch...) After dealing with the clutter I really had to figure out what my space needs were and how best to manage it. We had some plastic drawer sets around, classroom leftovers when I retired, and I just added to it since they were working. I took off the wheels because every time I pulled a drawer open the whole set came toward me and anything on top hit the floor! Now that everything has a home I can clean up in a flash as long as you don't count the time spent trying to wipe up escaped embossing powders of various types. Donna C |
|||||||||
|
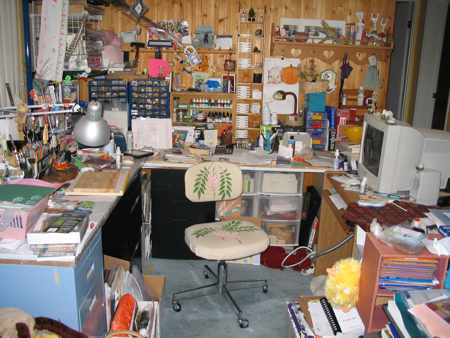
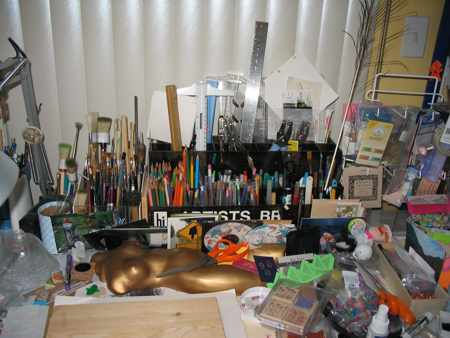
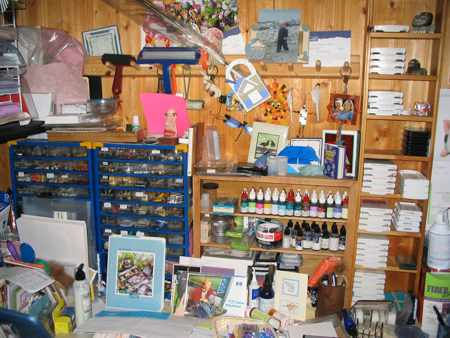
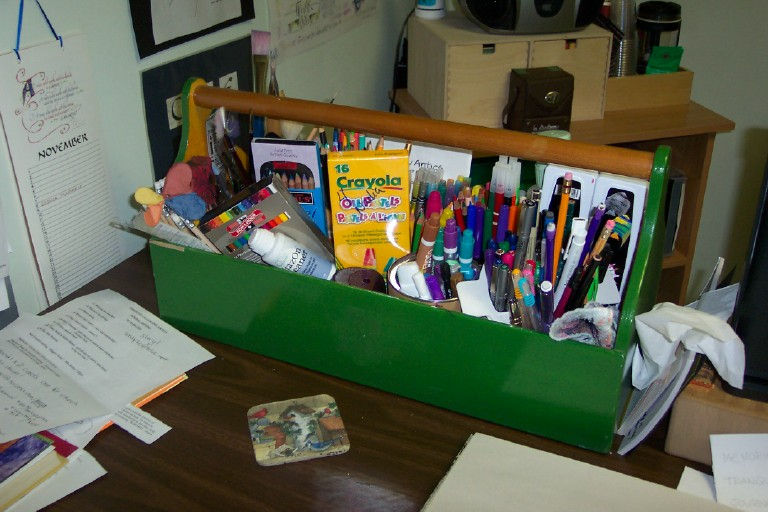
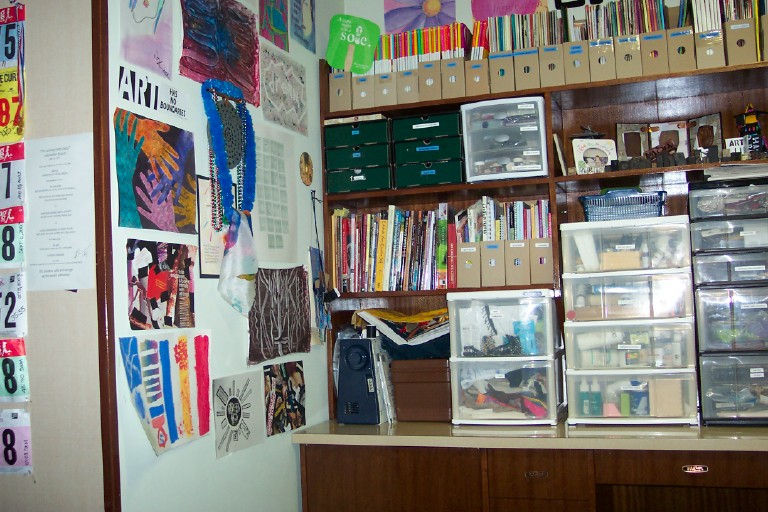
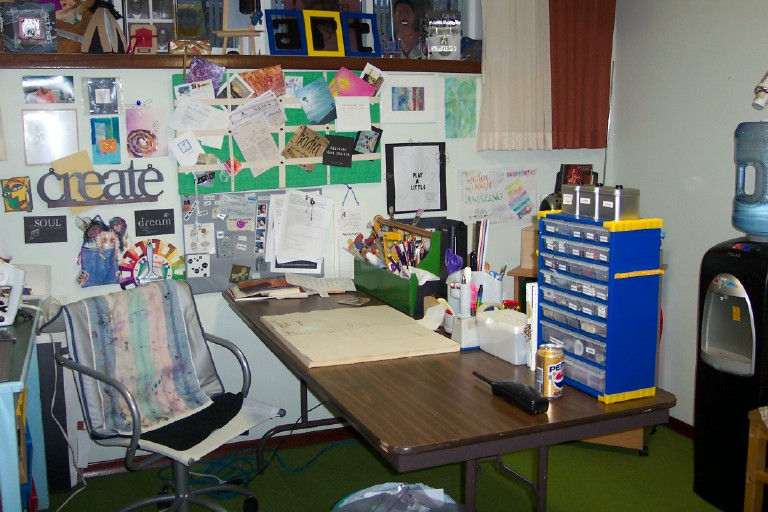
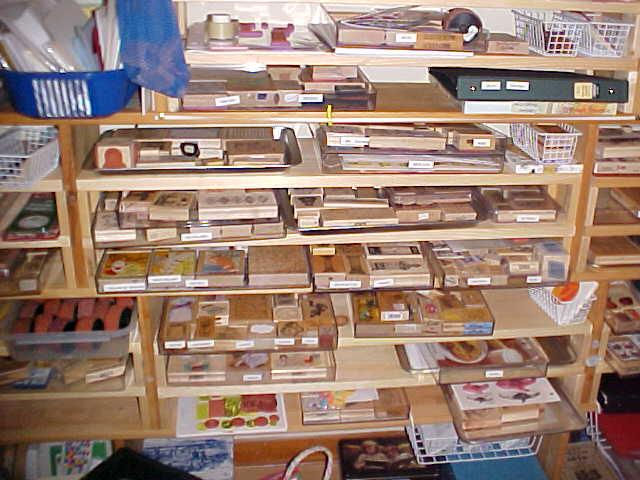
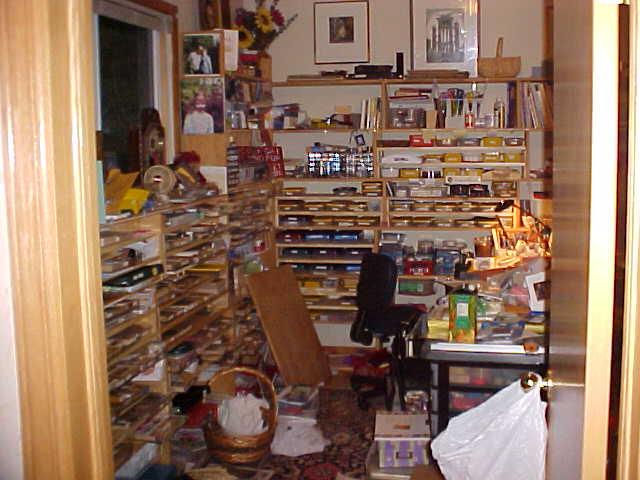
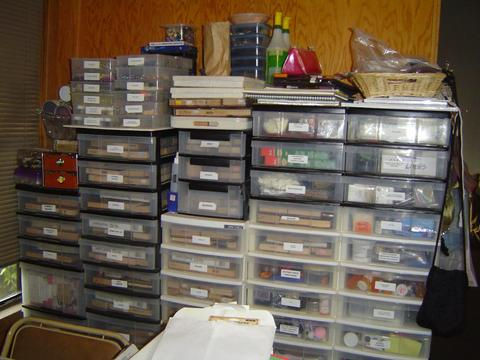
Nancy Quinn has one of the coolest work areas! Last time I was visiting I took these photos. Thanks for sharing Nancy (she told me I was allowed to show her "mess"). Click on each photo to see the larger image.
|
||||||||||
|
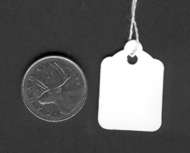
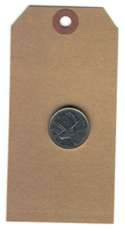
I have a drawer marked 'tools' (bookbinding needles, threads, hole punches, sanding block, mounting foam, etc.), one for cardscrap (I save lots and use for mounting little bits of things or for collage), another for scraps of washi paper, another for scraps of paper that could be interesting in collage that I labelled 'special' although I'm sure most non-stampers wouldn't find it so special, a file drawer depth one for paper towels and cleaning gear, one for my pigment pads, another for dye pads, another for embossing powders, one for fabric, one for my scrapbooking cutting system that will do ovals, circles, etc., and various stamp drawers (nautical, trees, nature, Asian, messages, collage and ephemera, travel, alphabets, miscellaneous, etc.) Those are all in my big drawers. Then I have little sets of drawers for stickers, other embellishments, scrap paper for glue work, a drawer for baggage tags and similar items, one for yarn scraps, Suminagashi inks, and so forth. I use clear cellophane bags to put things in when I sell and these are in manila envelopes depending on size, the envelopes all labelled and stuck in a basket. I also have a couple of inexpensive old pine bookcases which actually house the smaller drawers and my glues and pastes and tackle boxes with beads, etc. I was getting frustrated with the ribbon tangles so I put 2 screw eyes in a book case, one on each side, and slid all my rolls of ribbon onto a thin dowel which then slipped through the screw eyes. Now I can just roll the ribbon off as I need it and it doesn't tangle. My card stock gets stashed in an old set of sorting shelves I bought at a discount store to use in my classroom before I retired. There are 24 slots and I group roughly by color and type with sections for corrugated papers, metallic stock, vellum, etc. I put a cup hook on one side and that's where I hang my embossing gun. On the work table (a piece of melamine cut 3'x6' by the fellow at Home Depot) are little pitchers and crocks that I brought from my mum's house after she died and they hold markers, scissors, x-acto knife, awl, small paintbrushes and so forth. There are some magazine files for all the good reading and, of course, the little CD player which retired with me. With the one foot width I had the chap cut off the long side of this hunk of melamine I've created another shelf which holds CDs, chalks and some photos. Holding it up on each end is -- what else? -- more plastic drawers. (Teachers collect a LOT of stuff!) These hold extra glue sticks and those ferocious little glue dots that usually end up stuck to my finger or shirt, index cards, post-it notes, templates of various sorts, papers that need to be filed, etc. The table top itself is held up by 2 old file cabinets from teaching days. One actually has professional files related to teaching but the other is where I stash those thin boxes of parchment, etc. that I get from Office Max. The paper that comes in reams is down below in the bottom drawer along with boxes of photoframe cards. I have a drafting lamp screwed to the shelf but we also bought one of those cheap hanging fluorescent utility lights at WalMart and hung that from the floor joists above the table. Finally, I have an old, old bureau that was also my mum's and in it I stash boxes of envelopes for the cards I make, books and journals I've made and want to keep, book cloth, etc. On top of it is a sewing frame I bought on e-bay and a wonderful small antique nipping press I lucked into. We both have a similar amount of rust... This all really fits into a space that's smaller than this letter! It's a tiny spot in the basement where I'm surrounded on 3 1/2 sides leaving space just big enough to get in and out. I have a cheap chair on wheels and can reach almost anything either without moving or with just a short roll and there's a great spot under the table for an extra doggie bed because Annie, my golden retriever, loves to snooze at my feet when she's not "helping" by eating any scraps of paper that fall to the floor! There's no view, no heat and no ambiance but it sure is a fun place! Donna C |
||||||||||
|
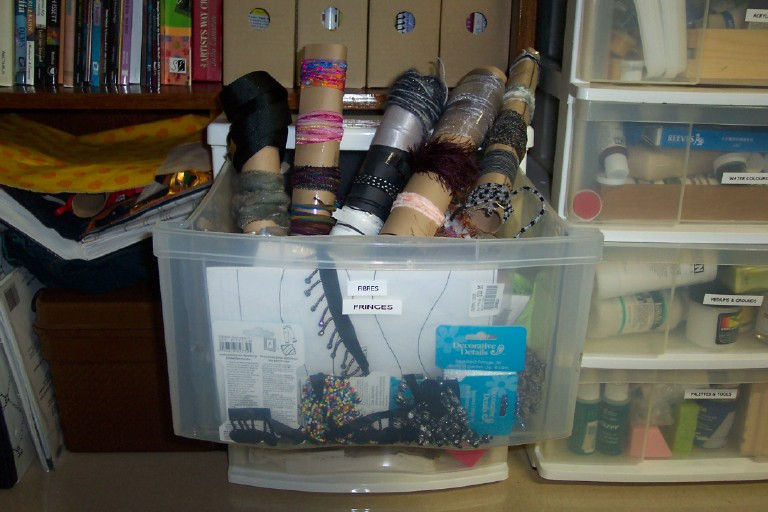
One of the kewl ideas (I think anyway) for organzing ribbon and fibres is to roll a sheet of paper and tape it. Wind your ribbon or fibres around it. I organized mine by color. Nadia (click on the images below to view larger images of Nadia's workspace)
|
||||||||||
|
As to my stamping room, I have one of those feet massagers under my stamp table, with heat!! It is pure heaven to stamp and have my feet heated and massaged at the same time! Linda C. |
I keep my heat gun in a small crock that sits on my work table. When I'm thru heating I just plop it back into the crock and have never had any problem with that - it's by far the easiest/quickest method for me. Laurie |
|||||||||
|
Although I am not the most organized person in the world....for me, a labeller has been essential in my never ending quest to be organized. I use it to label the drawers where I keep my tools/stamps etc, label file folders that I keep cardstock in etc. I also have a wonderful ink pad caddy (Stampin' Up!), which stores all 4 SU colour families. I have labelled each individual slot, so I know which colour goes where. (In a rather sad statement of my deep buried need for organization, I have the inks arranged alphabetically within each colour family....) I am a visual person, so tend to leave things out so I can see them...by using labels on drawers etc, I theoretically can put things away but still find them.... note the theoretical comment. Linda Y |
This reminds me to mention about a beautiful pottery
jug that I bought a couple of years ago. It recently got a huge hunk
chipped off it, much to my dismay. As I was readying to throw it out, I
decided to get out the superglue, and while it won't hold water anymore,
it sits on my studio table housing my paint brushes. Adds a touch of class
to my studio and you can't even see the repair..
Rose That's what I'm doing with some of my favourite mugs that have met with misfortune! I still get to enjoy them! Proof again that artists are great recyclers. Or do we just keep everything - just in case? Suzanne |
|||||||||
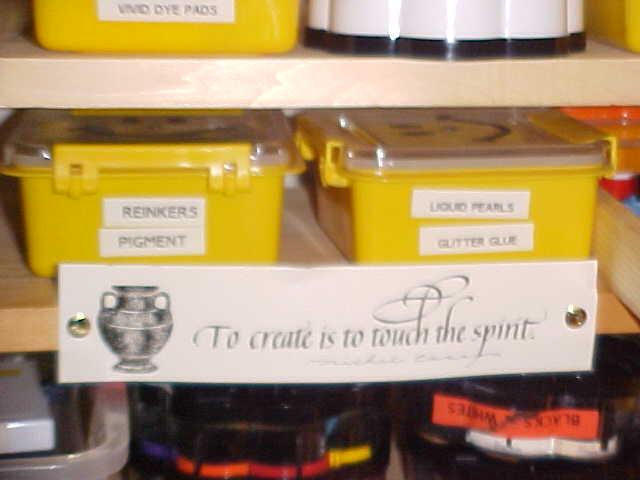
|
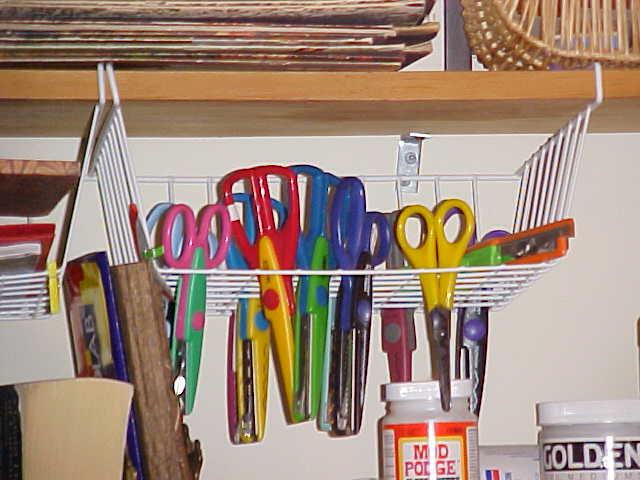
1) store pigment inks together, by colour, upside down, in covered plastic containers. The covered plastic apparently keeps the inks from drying out. 2) do the same with dye inks, except: store by brand name (I only buy the little pads for some reason), and store right side up. I also store all my ephemera by colour, in larger plastic boxes 3) label all boxes with a labeller 4) put most used items (pencils, coloured pencils, paintbrushes, rulers, bone folder, tweezers, gold edging pen, etc) on the desk beside you (I like them on my left) 5)have other items on a shelf closeby (markers, inks, ephemera, ribbon, yarn, beads, eyelets, etc) 6) I sit beside shelving. Directly to my left I have a heat gun hanging on a hook, and a large open tupperware container of clear embossing powder. I just dip and heat. Also, I have my baby wipes, my xyron, my hammer set for eyelets, sandpaper, chalks and Q-tips, sharpies and embossing markers, just on the shelf to my left. 7) Have everything else as close to you as what you use the most. My widely used stamps are stored close-by, my Halloween, Christmas and Easter stuff far away. 8) Have a comfortable chair on wheels so you can just zip around and get what you need quickly without having to always get up and down 9) Have a TV with VCR and DVD for watching all the great stamping videos and dvd's (like Tim's!) and for watching all the crazy TV shows while stamping (if you like that sort of thing - I always watch TV while I stamp!) 10) When you don't know what to stamp, lacking in inspiration, that is the time to clean your workspace! I usually come up with something during that cleanup time. I usually clean my stamps as I use them, then just drop them wherever on my desk. I put them away when I clean my workspace. 11) I use a dollar store CD rack to put cards that are drying, also I use one to hold the pile of tiny quote books that I seem to be collecting. Makes a nice little book rack. Lindart (Linda Cameron from Ontario) click
on the images below to view larger images of Linda's workspace
|
||||||||||
|
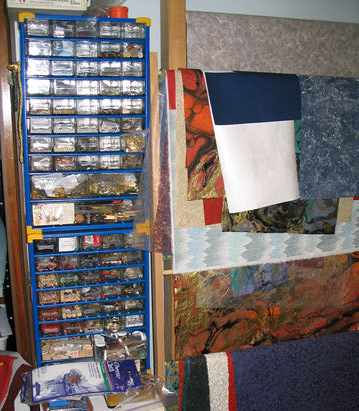
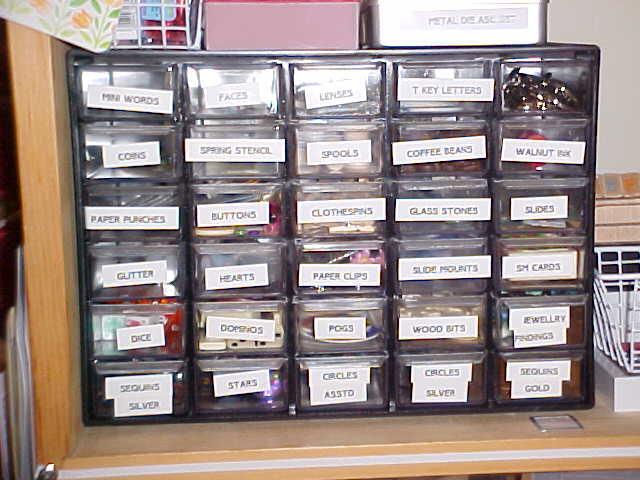
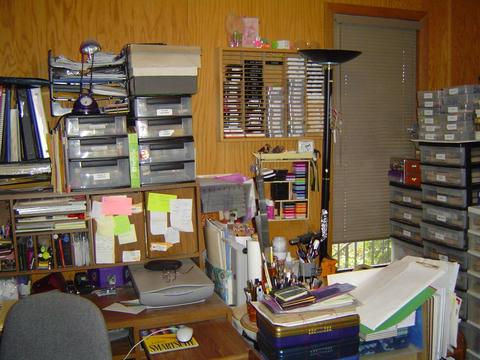
I have six iris carts filled to the brim with wood mount stamps, envelopes, clay, glass items, metal stuff, beads, etc. Each drawer is labeled. I use embroidery floss boxes for beads, eyelets, jewelry findings, eyelets and pots of radiant pearls. I just bought and assembled a cabinet that now houses my cardstock, sorted by color (not all of the cardstock fits in the cabinet so I have some in storage boxes), bookbinding supplies, embossing powders and glitter in plastic food containers, my golden products (paints, gels and mediums) (this is heaven since I used to store them in my bedroom and now they're in my art room), needles and waxed linen threads. Over the door hangs a plastic shoe sorter and my large handmade papers are rolled and stored in the sorter. My decorative scissors hang from a belt hanger. The ink pads I use the most often, hang in a cassette storage thing over my table. The ink pads right under the cassette thing, are arranged on a small shelf that my Dad made in the 1960's when we used to collect little glass animals from the fairs. Anything I don't use regularly, is in an iris cart in my bedroom. My unmounted stamps are stored in the regular size cd jewel cases and then stored on cd racks and in photo boxes....all sorted by vendor. A picture of each image is on the front of the case so I can see what's inside. My pearl ex, more eps and glitter, foam stamps, lumieres and acrylic mounts are stored in desktop iris drawers. The swaps that I receive are in another shoe organizer than hangs over the door and in pockets. I keep an access database with all my stamp purchases, ink pads etc. so I don't duplicate items. I carry that binder around with me whenever I go shopping. I've uploaded pictures of my art room in the link below my name if you'd like to take a peek. For all the organizing that I do, why do I still end up with only a 6"X6" space on my table to work in?? lol Vicki - Northern California
|
||||||||||
|
Ikea is my saving grace (that's a joke; my art business is called "Saving Grace"- tee-hee). I just bought a media storage unit and put it together without the doors. There are about 16 cubicles of varying sizes. Couldn't find a picture on line. Then, I went to Michaels and bought (on sale - 40% off!!) a bunch of lidded canvas boxes, filled and labeled them. Yippee - all my papers, ribbons, tools and large ephemera are in there. I use another two units to store flat papers and ArtChix stuff and photos and vellum. You can find these 16 drawer units in the storage department at IKEA; couldn't find a picture on line. I haunt the flea market and have amassed an interesting collection of wooden drawer boxes. Most are divided up, so I keep each type of ephemera or buttons in a separate compartment. Makes it easier to find. Finally, I found this amazing over the door hanger at IKEA. Forget shoe storage - this thing has different sizes and they are all deep pockets with a flat bottom. My new favorite thing!! This is my temporary space while the old "studio" is being turned into a kitchen. After that, I may actually get a real workspace and wouldn't that be fun? In the meantime, I'm out in the living room, which is a bit of a hassle, but oh, well. I'm actually very lucky!! Judi D. |
||||||||||
|
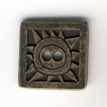
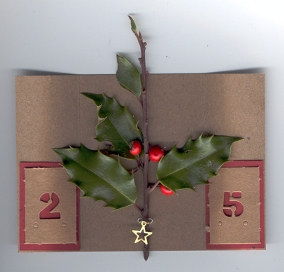
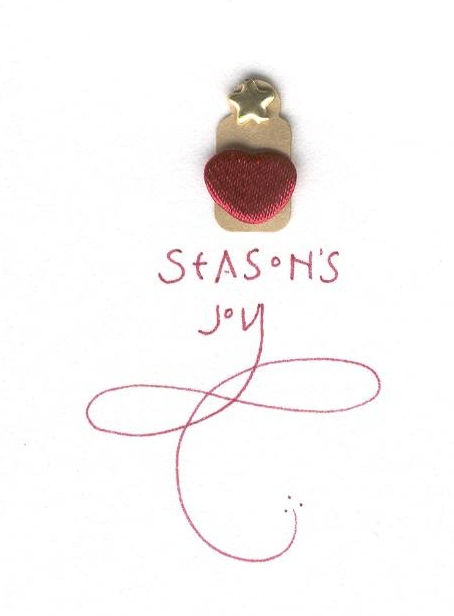
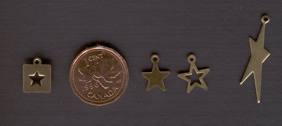
With Season's Preparations just around the corner, I've brought in some new charms to add to your cards and artwork! Check out the Metalworks Charms page for more information and ordering! |
 |
|
 |
 |
 |
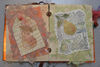
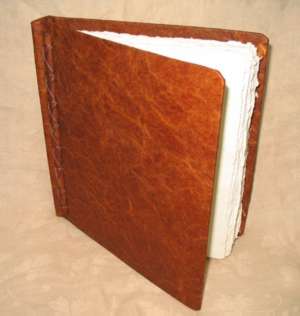
Decorated Journal SeriesInspiration Revealed Kit
The Inspiration Revealed kit comes with 2 - 8 1/2 x 11" sheets of richly coloured handmade paper and the instructions for creating this spread. You will also need some brads from your stock to complete the project as shown - I used copper. These projects were designed to fit in the Watercolour Journal.
|
Give your art heart! Looking for cool present to send your friend who loves making art? How about The Watercolour Journal and the Decorated Journal Series of Kits A 2005 byhand Premium Subscription A grab-bag of Quietfire Gentle Thoughts rubber stamps a selection of seasonal charms and brads (stars aren't just for Christmas!)
|
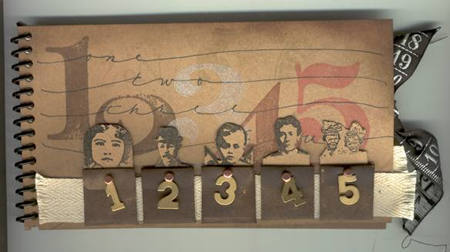
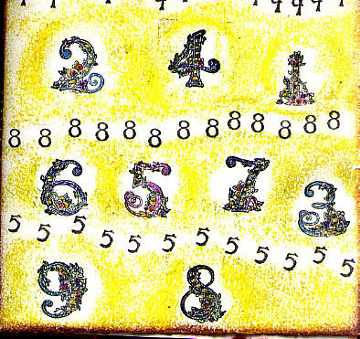
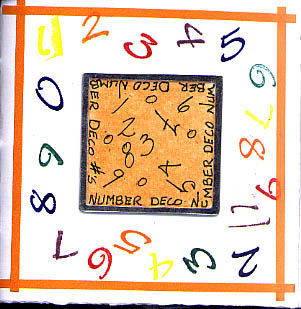
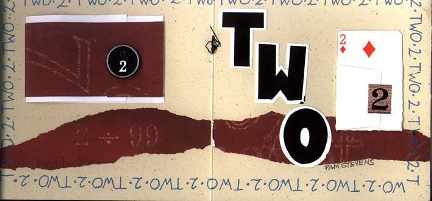
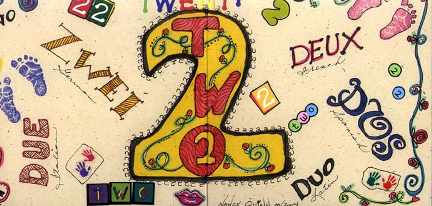
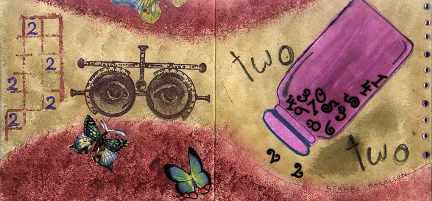
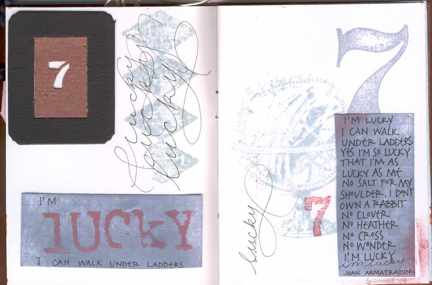
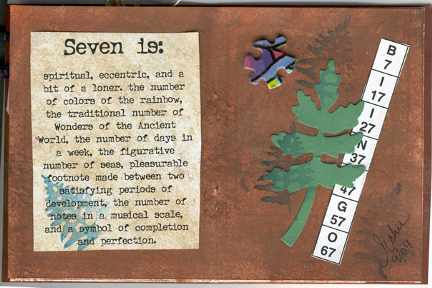
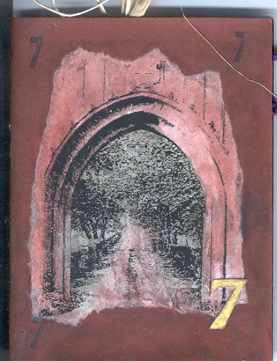
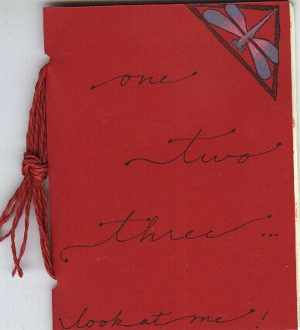
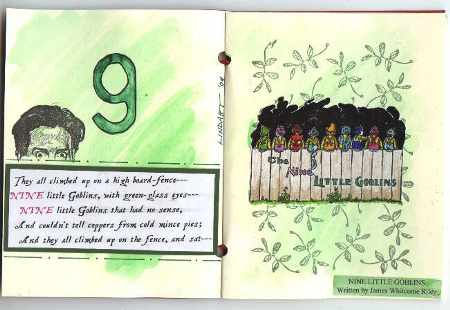
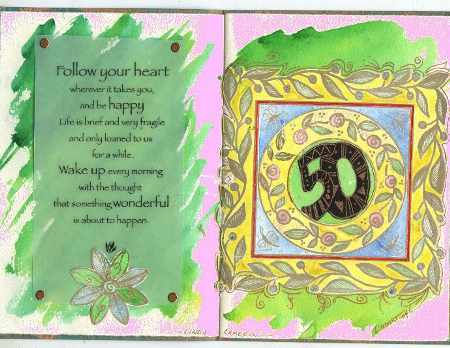
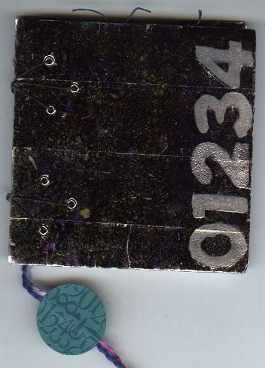
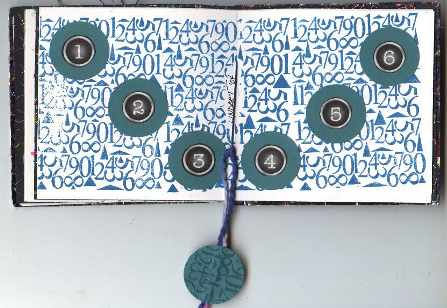
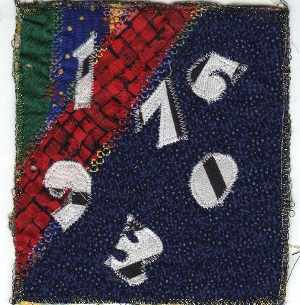
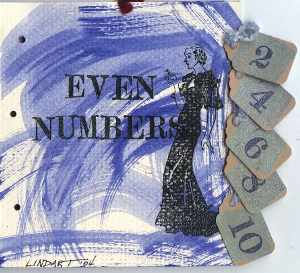
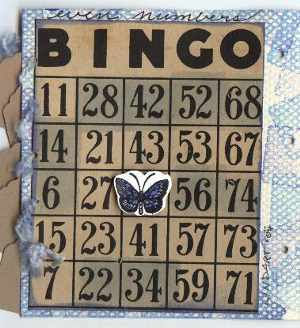
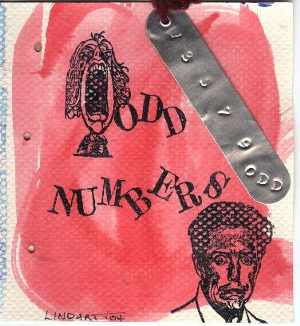
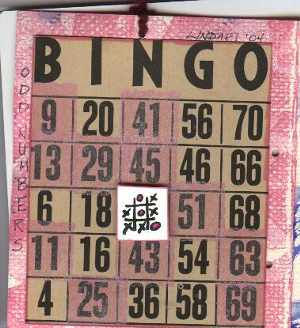
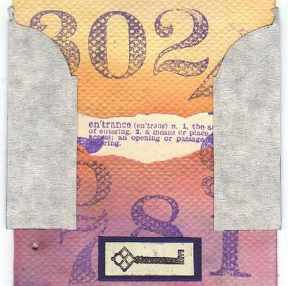
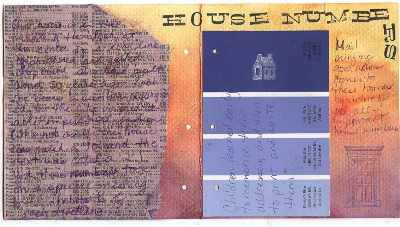
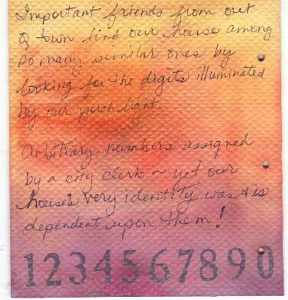
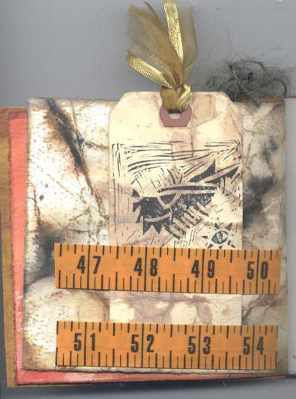
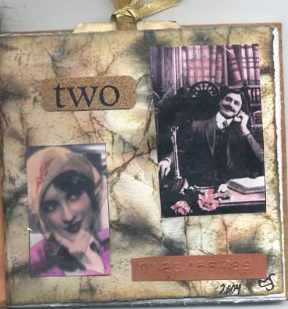
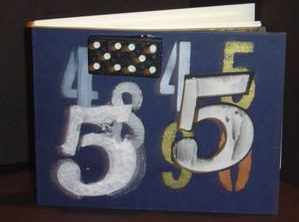
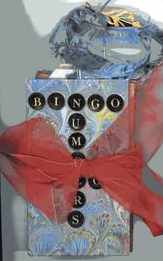
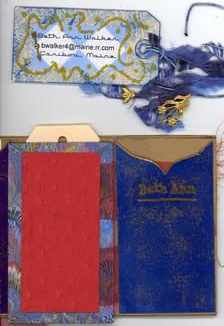
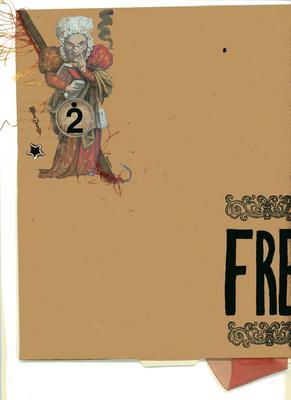
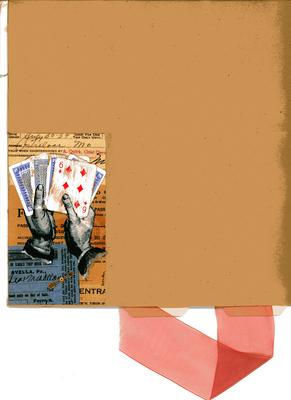
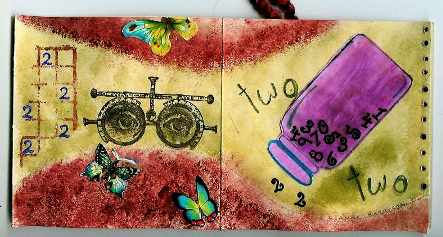
Numbers Deco Round Robin |
||||||||||||||||||||||||||||||||||||||||||||||||
|
|
|||||||||||||||||||||||||||||||||||||
|
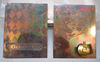
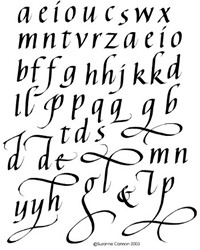
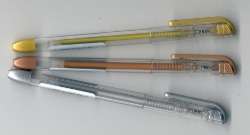
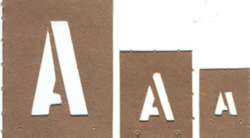
The Italic Alphabet You receive the whole alphabet on one sheet of rubber! $25 USD While supplies last! Go to Rubber Alphabets for details and ordering. |
The Star Book Kit is on special this month, with one small change. You may now purchase the Star Book Kit without the embellishments. You will still get the instructions and all the components need to create the book! $22 USD Now available with foiled star covers! This is the perfect kit for someone who already has lots of embellishments and ideas! To see the colour choices and to order, go to Paper Joys - Kits |
|
Recent
additons to the byhand Products family! "I like the fact that you let me know when you are sending my orders in two separate packages. Your personal touches, the little surprises you include in your packages and the items you find to add to your pages of available items along with your thoughfulness, are the reason I like to place orders with you. Thank you" Linda K I'm delighted to receive comments from satisfied customers! Thanks Linda! |
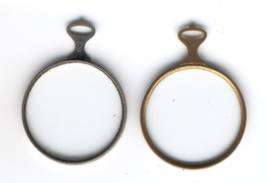
On the Metal Works page
|
||||||||||||||
|
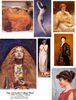
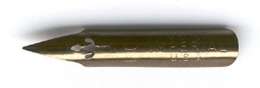
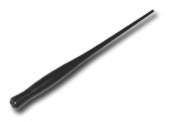
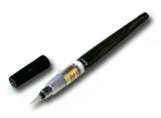
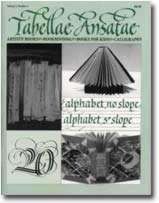
New on the Calligraphy Page If you click the image you will see it larger, but for more details, please go the the appropriate page.
|
|||||||||||||||
|
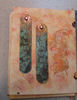
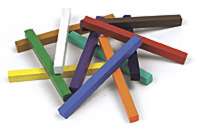
New on the OCS Page!
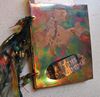
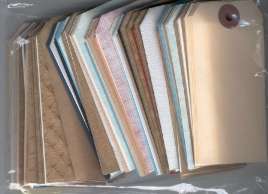
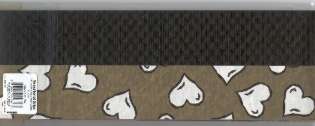
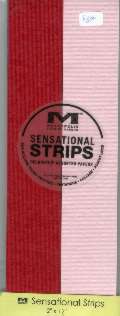
Recent Additions to the Paper Joys page
|
|||||||||||||||
|
A few months ago, byhandartist Ellen Harper posted scans of a wonderful journal she had made. On each page of collages she had a single word which was the focus. I thought this was such a great idea that I challenged the byhandartists to make their own. Each week I assign a word and the artists create around that word. We've only just begun! The above artwork is a digital collage by Therese in Trenton. Pretty darn nice, eh? Please come and join us! |
|
If there is any information you would like to see in this newsletter,
let me know. Each month I will email you to let you know the new issue
is published. If you know someone who would like to receive notice of
byhand, just have them email me and I
will put them on the list. Bye for now and thanks for visiting! suzanne@quietfiredesign.com |
|
|
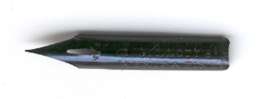
The original title lettering of byhand was done with a Mitchell's Roundhand Nib, size 0, and Higgins Eternal Ink. Quietfire Design Rubber stamps were used to create the other designs. |
Artists whose work is shown in this newsletter retain the copyright on their own work.
| byhand Newsletter | Quietfire Design home page |
| Calligraphic Art | Handbound Books | Rubber Stamps | Ordering Information |
| Publications | Exhibitions | Calendar of Events | Classes | About Us |
© 2004 Suzanne Cannon
This newsletter is for the personal use of the subscriber and may not be reproduced
without written permission from Suzanne. You are welcome to email or print it
in it's entirety to share with friends, but ask that you include this copyright.
Thank you for your help and your understanding.


 Available
at last!
Available
at last!