|
|
brought
to you in living colour by Quietfire Design
April 2005- Issue 44
|
Gentle Thoughts
|
|
Important links at your fingertips!
|
||
|
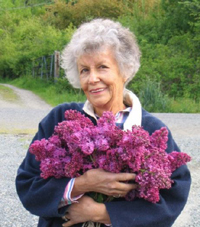
This issue it dedicated to my Mom, who passed
away April 12, 2004.
Hi Everyone!
|
I can't tell you how pleased I am that
you are offering product here on the island and it is available in Canada!
I also appreciate how easy you make ordering, answering questions and
shipping. Nadine M. - Victoria, BC
Join
the supporters of byhand and become a
For more details, go to the If
you wish to contact me, my email address is: To
unsubscribe: send me an email saying 'unsubscribe'.
I'll live.... (sniff)
Don't forget if you'd like to share some artwork that you have stamped with a Quietfire Rubber Stamp, please send me a copy and I'll be delighted to put in the Stamping Gallery. Don't be shy!
Check out a wedding project... |
|
Site SitingThis is a bit of a departure from my usual Site Siting .... Recently I was contacted by a friend, Gene Furbee.... In Gene's own words: "...the link that I will be asking you to follow is www.huntingtonsdance.org . This is a website that my son Chris has created as a way to educate and bring together people who have a desire to contribute to the increased awareness of a disease called "Huntingtons Disease" You will learn about his story when you go to the website. In particular make sure you click on the two places on his home page for NEWS and PROJECTS to view two videos. The video under PROJECTS is a sample reel of a film he has been working on for the past 9 years about the disease, with the intention of raising awareness of the nature of Huntington's. Huntingtons is the disease that claimed the life of Woody Guthrie, a folk hero to hundreds of thousands. I have watched Chris struggle to work with the hours and hours of footage that he shot. Because of the extremely emotional nature of the material he has been unable to personally bring the film to completion. However, that has not prevented him from using a short sample reel to educate others about the disease. Over the past 5 years he has been invited each year to speak to the medical students and faculty at the University of Calfornia at San Francisco and at Stanford University where he has brought home to them the message of a slow deterioration that strips a person of all of their human dignity over a period as long as 20 years as it did in his mothers case.... In Chris' family the onset of the illness has tended to manifest at around age 40. He will be 39 this April. As each year passes he wonders.......when? " For those who would like
to make a financial contribution to the completion of this film, you can
do so by making your cheque or money order payable to the "Northern California
Chapter HDSA". and sending it to Thanks for reading this. |
2005
|
|||||||||||||||||||||||||||||||||||||||||||||||||||||||||||||||||
4th Anniversary Celebration!Here is the result of the draw for the winner of the postcards submissions! And the winner is Gabrielle wins $50 worth of Gentle Thoughts Rubber Stamps! A HUGE thanks to everyone who submitted
their wonderful creations. |
|
|
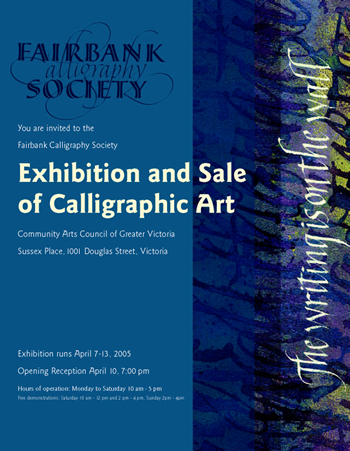
Community Arts Council of Greater Victoria Sussex Place, 1001 Douglas Street Victoria, BC Exhibition runs April 7-13, 2005 |
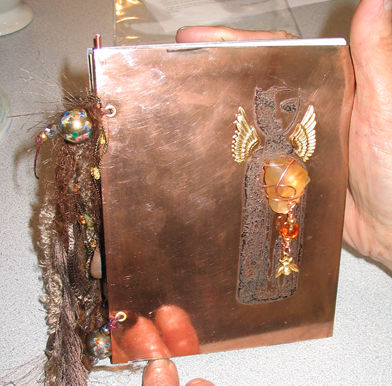
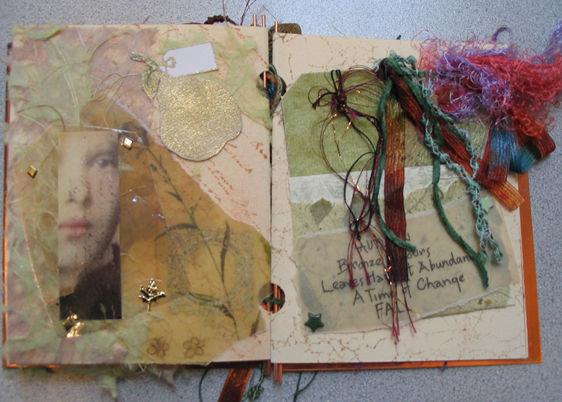
Quietfire Retreat
June
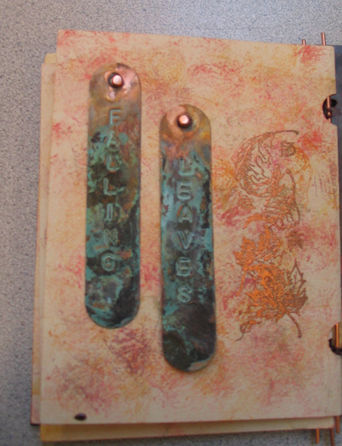
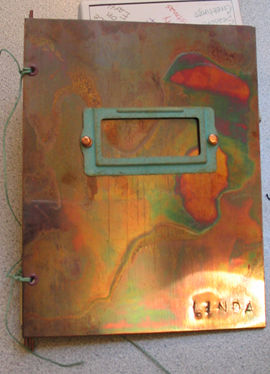
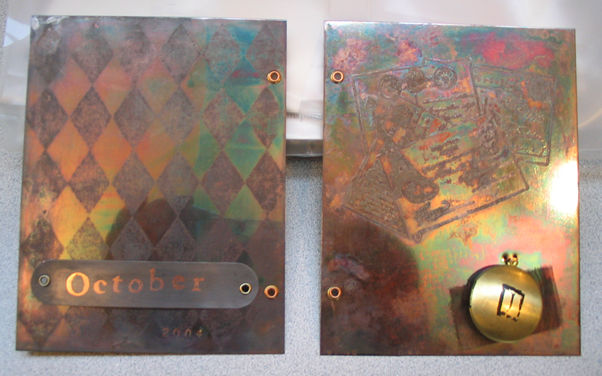
11 & 12, 2005 Have a fabulously relaxing weekend in the Alberni Valley, meet some new friends, pamper yourself, go shopping and make a copper covered book filled with inspiration! This retreat is more than half full! Don't wait too long! This
weekend will include
Here are some amazing examples of what students have created in the Copper Book class. You can see more in the Class Photos section of my website.
|
|||||||||
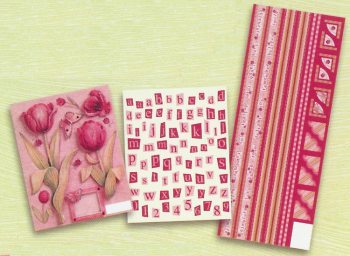
New Rubber is here!There are 23 new images or sets of images!
New Goodies! |
||||||||||||||
 |
 |
|||||||||||||
|
Black book corners! |
|
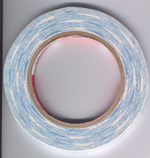
Fabulous double-sided tape! |
||||||||||||
|
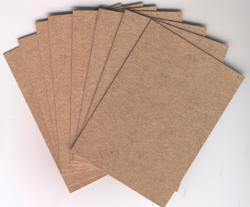
Kraft card ATCs! |
|
|||||||||||||
 |
 |
 |
||||||||||||
 |
 |
 |
||||||||||||
|
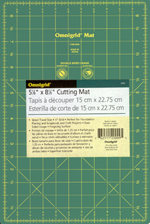
approx. 6"x9"
Cutting Mat |
3 x 18" O'Lipfa
Ruler |
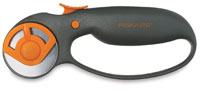
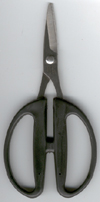
This classic and easy-to-grip tool is perfect for cutting cloth, felt, paper, and bookboard. There are no small washers, so blade changing is easy. The gray, soft plastic handle is contoured for comfort and control.
|
||||||||||||
|
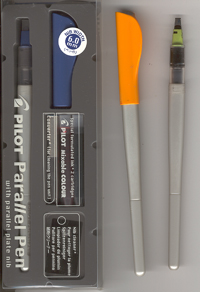
What a fabulous tool! You have to have one in every size!
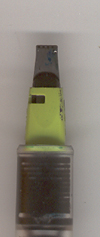
The nib of the Parallel Pen consists of two parallel metal plates between which the ink flows smoothly and evenly with no gaps or skips even in the largest sizes. The hairlines are so fine! The basic pen comes complete with one nib, two long lasting ink cartridges, a convertor for flushing ink from the pen, and a nib cleaner. You can also produce color-blended letters by touching ink from one pen to a second pen loaded with another color. You can refill the cartridges with your own ink using the byhand pipettes! Available in four sizes
|
||||||||||||||
|
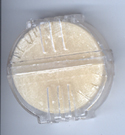
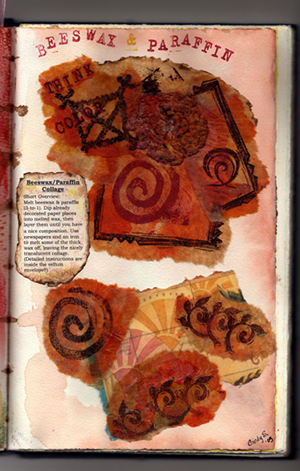
Beeswax |
Kai Scissors |
||||||||||||
|
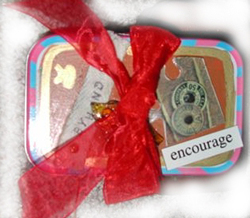
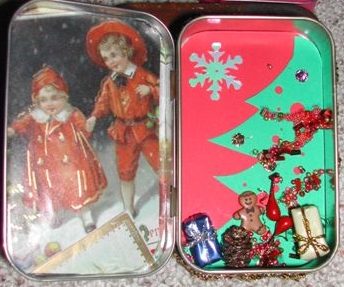
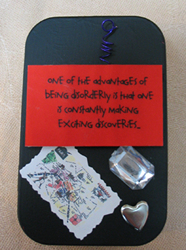
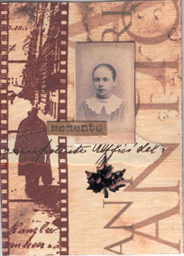
Here is another byhandartists swap that we had recently. Each participant
used an Altoid tin to create their artwork. It was fun to be able to
use 3D items without worrying about bulk! Here is what we did - we hope
you enjoy them and they inspire you to decorate your own tins.
Suzanne Cannon Each tin was sanded and coated with two coats of Modern Options Iron Paint and allowed to dry between coats. This took several days. The rusting solution was then spritzed on and the tins were allowed to rust for several days. Then they were lightly sprayed with a sealant. Paper items were glued on with Aleene's tacky glue and the 3D elements were glued on with E6000. |
|||
Ramona Weyde-Ferch
|
|||
|
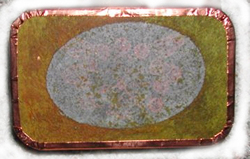
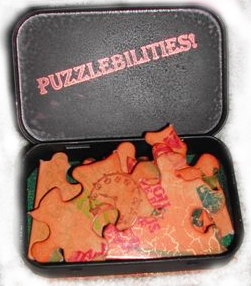
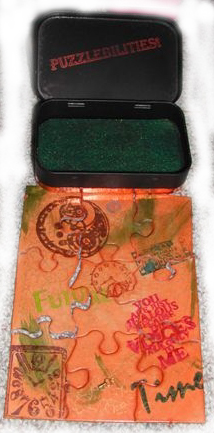
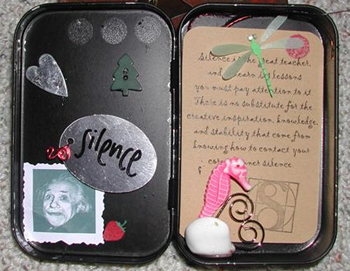
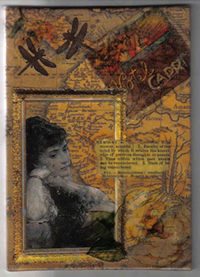
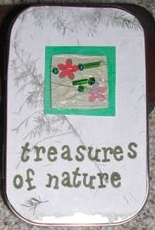
Tricia True
The tins are sprayed with black primer.The paper on the top is rice paper stamped with a solid stamp and clear embossing powder. Then spray the paper with Adirondack color wash. Cut the paper to fit the top of the Altoid Tin. Stamp an image under the "window" in the paper. Hopefully if it works well you will be able to see the image through the window after you mount it on the tin. The foam in the bottom is sticky back foam like the kids use for projects. The puzzle is colored with Alcohol inks and stamped randomly with stamps and Memories inks. |
|||
|
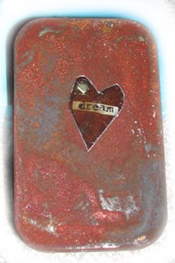
Judi Delgado Most of my tins were on the same base - I throw them into the coals after we barbeque! They get all dusky and gritty looking and I love that patina. I tried doing paint on several, but didn't like it as well. On all of them, I layered torn papers of various sorts,using gel medium as a fixative. I then added photos and bits and pieces of embellishments for depth. I glued twill ribbon around the edges of most; they all had dictionary meanings stamped on them. |
|||
|
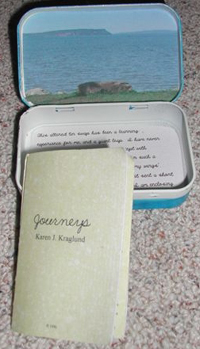
Karen Kraglund |
|||
|
Kaye Jorgensen My altoid was the theme of 'Found Objects", and I used 15-20 different objects. |
|||
|
Nancy Quinn |
|||
|
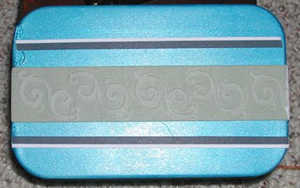
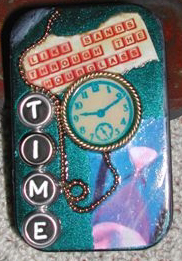
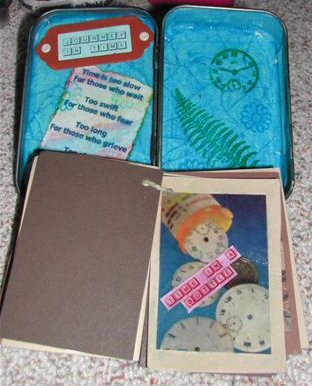
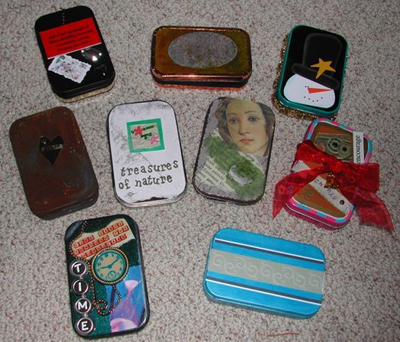
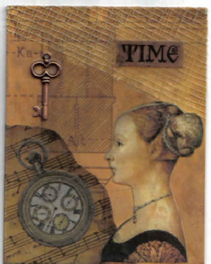
Leanne I basecoated the tins with a special-effect paint that gives a black iridescent look to it. I used a clock stamp (cannot remember supplier) and placed that in a 1" bezel. This was glued to the top of the tin along with some chain from a flea market grab bag...a quote "Like Sands through the hourglass", an image of an hourglass....and the TIME typewriter keys are from the technique w/ the washers, polyclay and hand-stamped letters. Inside the tin are various quotes relating to TIME and a small handmade booklet with images and quotes. I used blue paint to 'antique' the inside of the tin before randomly rubberstamping floral images. |
|||
|
Sandy Sommerfeld |
|||
|
The collection! |
|||
|
If there is any information you would like to see in this newsletter,
let me know. Each month I will email you to let you know the new issue
is published. If you know someone who would like to receive notice of
byhand, just have them email me and I
will put them on the list. Bye for now and thanks for visiting! suzanne@quietfiredesign.com |
|
|
The original title lettering of byhand was done with a Mitchell's Roundhand Nib, size 0, and Higgins Eternal Ink. Quietfire Design Rubber stamps were used to create the other designs. |
Artists whose work is shown in this newsletter retain the copyright on their own work.
| byhand Newsletter | Quietfire Design home page |
| Calligraphic Art | Handbound Books | byhandproducts | Ordering Information |
| Publications | Exhibitions | Classes | About Us |
© 2004 Suzanne Cannon
This newsletter is for the personal use of the subscriber and may not be reproduced
without written permission from Suzanne. You are welcome to email or print it
in it's entirety to share with friends, but ask that you include this copyright.
Thank you for your help and your understanding.


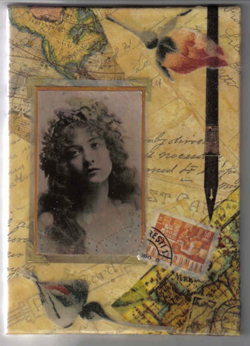
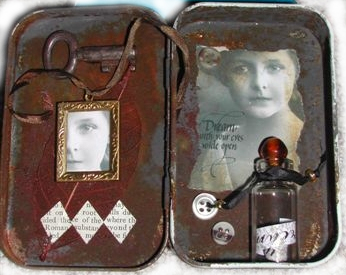
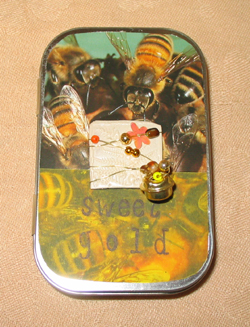
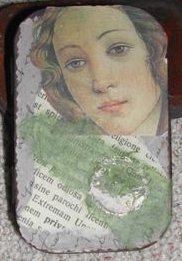
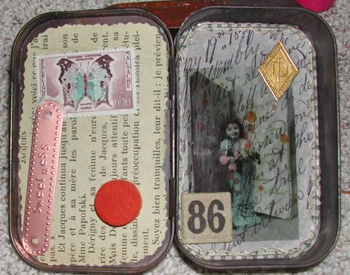
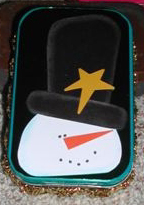
 Instructions
are for the tin above. Outside: photo from a magazine cut into shape and
glued on the top.Then i glued the yellow vellum with two-side-tape and
stamped on it "sweet gold" with black memories ink. the charm is made
of polymer clay (fimo). i rolled it and stamped on it with a rubberstamp
from ink and the dog & baked it. Once cooled I wrapped it in wire and
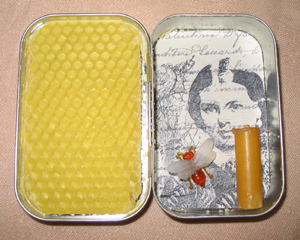
beads and the tiny bell and glued it on top of everything. Inside: i cut
a beeswax plate (usually used for making candles) in shape of the box
and glued it inside. the collage: i stamped on a tissue with memories
ink and ink and the dog rubberstamp. i removed all layers without ink
and decoupaged it on a wrapping paper with this writing on it. (that's
how the shine through effect came). then I cut it into size and glued
it inside.
Instructions
are for the tin above. Outside: photo from a magazine cut into shape and
glued on the top.Then i glued the yellow vellum with two-side-tape and
stamped on it "sweet gold" with black memories ink. the charm is made
of polymer clay (fimo). i rolled it and stamped on it with a rubberstamp
from ink and the dog & baked it. Once cooled I wrapped it in wire and
beads and the tiny bell and glued it on top of everything. Inside: i cut
a beeswax plate (usually used for making candles) in shape of the box
and glued it inside. the collage: i stamped on a tissue with memories
ink and ink and the dog rubberstamp. i removed all layers without ink
and decoupaged it on a wrapping paper with this writing on it. (that's
how the shine through effect came). then I cut it into size and glued
it inside.