| |
Cut the text pages in half so you have 16 pages of 5
1/2 x 8 1/2
|
 |
Fold these in half (hamburger style) and nest them together
in 4 groups of 4 pages. You now have 4 signatures of 4
pages each |
 |
Cut apart the Journal of Gratitude stamp set.

Stamp the Date with line across the top of each page
- except one. I didn't cut
the numbers apart - I just didn't ink past the number 6. For
a book this size, the 10 numbers seem too much. Use them on
a bigger journal! Stamp the numbers down the left side
of the page.
|
 |
Stamp one of your pages (the one you didn't stamp earlier) with
the stamp Things for which each day I am grateful. This
will be your title page, the first page in the book. |
|
Folding the cover:
Place the pages (book block) inside the cover.
Line the edge of the bookblock with the end of the paper. Mark
and score the position of the first spine fold. If you have
a Scor-it Board, this is the perfect time to get it out!

|
Compress the book block and use a pencil to
mark the compressed height of the spine on the inside of the
cover. This is where you will make the second fold for the spine.
Trim off any excess flaps on the cover.
|
 |
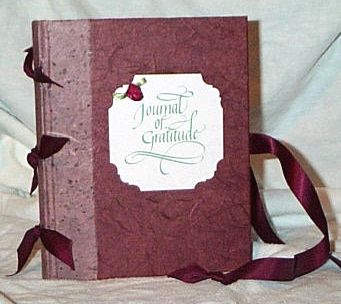
Decorate the cover as shown at the top of this page by tearing
a strip of the metallic fabric-like gold paper and gluing it
to the cover. Stamp a piece of cover stock with Journal of
Gratitude, add heart brads to the corners of this
cardstock and glue the piece to the cover, over the metallic
paper strip.
Cut 4 pieces of Waxed Linen Thread approximately 20"
long. Tie each signature, one at a time, onto the cover as shown
in the photo.
|
 |
Make sure the first page is in the correct position!
You should have lots of left over linen thread to attach beads
and charms.
|
 |
Attach beads and charms. I was lucky enough to have spectacular
lampwork beads, made by my friend, that were the perfect colour!
Heishi
Beads are really handy for this, too! |
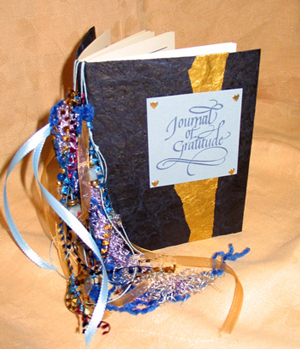 |
Add fibres if you desire. I think I liked mine better with
just the beads!!
Voila! A great gift.
|